Showing posts with label Sizzix Blog Hop. Show all posts

Thursday, December 16, 2010

Sizzix Blog Hop - Treat Bag Toppers

If you're hoping I saw something
a little different this time ... like a chick
or a duck or an owl ...
I didn't.
I do love these treat bag toppers.
Don't limit yourself to topping treat bags -
or don't limit your treats to sweets.
How about a homemade ornament?
Or a gift card?  Or a small toy?

  
Merry Christmas!
You've been good this year!!


Thursday, December 9, 2010

Sizzix Blog Hop - Album, Brackets

I think this would make an
adorable album ... but I saw something
different when I had all
the cut pieces in front of me.
I saw an owl.


I attached him to the front of my sketch pad
along with a wide ribbon.
He'll be keeping me company until
it's time for a new sketch pad!

Saturday, November 27, 2010

S'more Snowman Ornament

The snack of the season!
Here's one you can't eat ... so quick and easy!


Here are the wood pieces you'll need to make one:


(1) 1 1/2" Square, (4) 1" Squares, (1) 1"x1 1/2" Rectangle
(1) 4 1/2" Wooden Mitten Cutout

Acrylic Paints: Light Blue, Black, White, Orange,
Dark Brown, Brown, Red, and
Plaid® Extreme Glitter™ Hologram and Black
Multi-Purpose Sealer

Easy Cutter Ultimate, Crop-A-Dile, Stylus, Wire Snips
Permanent Black Marker, Pink Powder Blush,
Sanding Block, Wire for Hanging


Using the Easy Cutter,
cut the rectangle in half lengthwise - this will
be the hat brim.  For the hat, cut one
of the 1" squares in half. 
 Paint these black and coat with Extreme Glitter. 

Paint mitten cutout light blue.  Sand edges.

Paint two 1" squares white and coat with Hologram glitter.
Paint the 1 1/2" square light brown for the
graham cracker.  Paint one 1" square
dark brown for the chocolate.


Lightly sand the 1 1/2" square and remove some
of the paint from the edges. 
 

Dip an old toothbrush into dark brown paint.
 

Spatter over the rectangles to create texture.
Add spatters of white, as well.


Swirl pink powder blush onto the cheeks with a
cotton swab.  Eyes are black dip dots.
Paint the nose orange. 
Paint red dip dots down the center
of the second white square (buttons).

Seal pieces and outline details with permanent marker.
 

Attach pieces with Tacky Glue.  Thread wire through
holes for hanging.
 

Paint a red hat band above the hat brim.


ENJOY!!! 

Thursday, November 25, 2010

Sizzix Blog Hop - Frame and Frame Back

HAPPY THANKSGIVING!!!
What a great die to have!  Initially I thought I'd
go with a Thanksgiving design,
seeing as how this is posted on Thanksgiving Day ...
but I got so excited when I
laid out all the pieces ...
and I knew just which photo I would be
showcasing!!!


I painted the Frame Back red and brushed on a coat
of Plaid Extreme Glitter.
Then I painted the larger frame front
(smooth edge on the outside)
a baby blue, and sanded the edges.
I painted the smaller frame front
(scalloped edge on the outside)
white and dusted it with white flakes of snow.

I added a little bling to the straps
after painting them blue;
and the glittery heart needed bling, too.

My youngest son says this is the car he wants Santa
to bring him for Christmas!
Ahh ... to be six again!!!

May all your Christmas wishes come true!
Peace!!

Thursday, November 18, 2010

Sizzix Blog Hop - Flower, Beauty Bloom


I know it's supposed to be a flower,
but once I had all my pre-cut pieces spread out,
my mind couldn't see past the duck!


I started with an unfinished wood frame.


After base coating the frame blue, I found coordinating
ric rack to glue around the edges.


Rather than a photo, I used fabric in the frame opening.


A little bling ... a little Extreme Glitter ...
and it's a Duck Frame!

Peace!

Thursday, November 11, 2010

Sizzix Blog Hop - Twist Cube


Here's my take on the Twist Cube ... no twisting involved!
I thought, and I do hate to be redundant ...
(I'd so much rather have a clever different way to say this)
... so again, I thought ...
blank canvas!
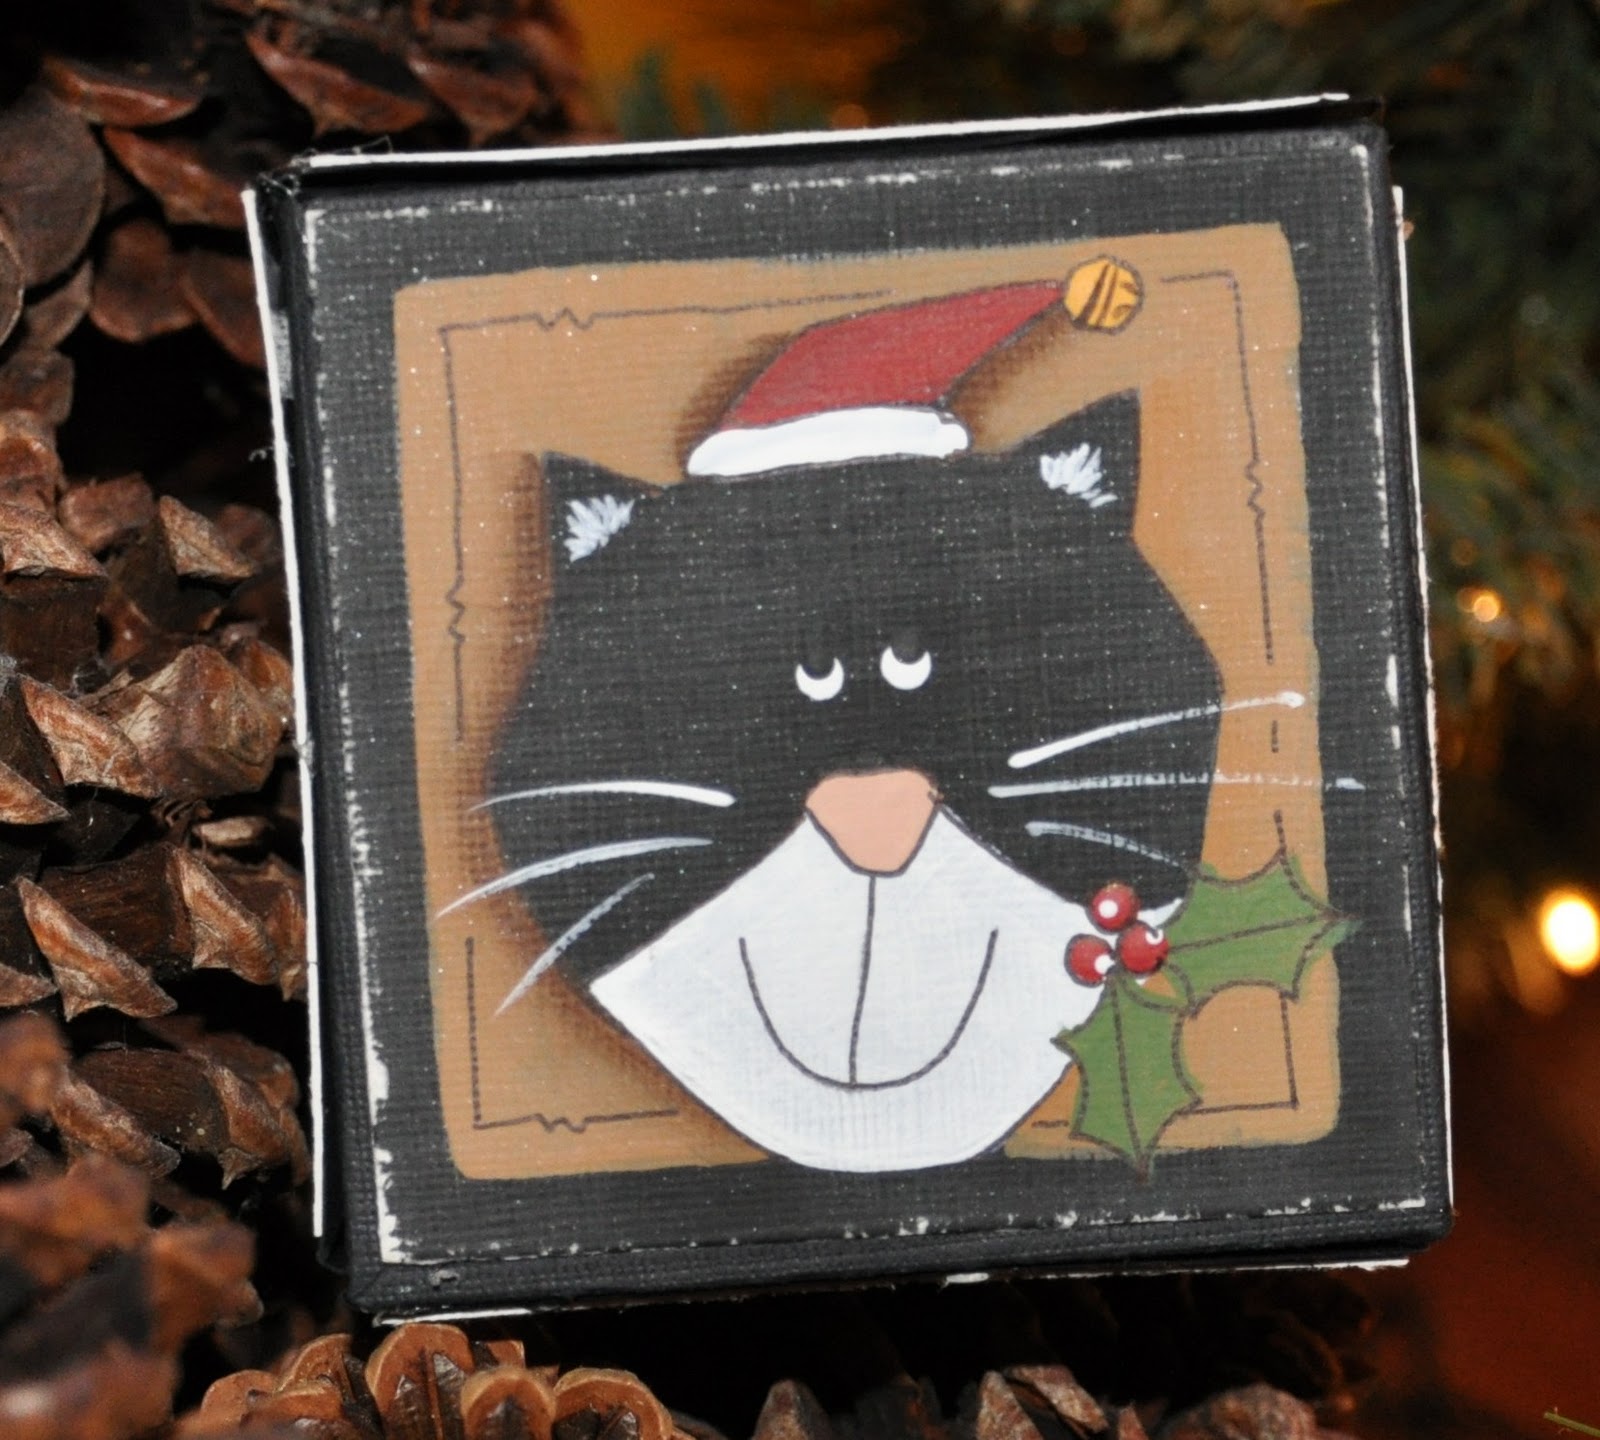
What a great way to showcase six little Christmas
icons - all at a cute little 3" x 3" size!!!

Here they are:


 The Christmas Puppy 


 The Christmas Kitty


 The Christmas Star - all tangled in lights ...


A Snowman with Earmuffs! 


 A Snowman in a Floppy Hat - with Jingle Bell ...
and lastly, my personal favorite: 


 A Snowman in a Woolly Tasseled Scarf!!

If you're ready to move on, just click the
Sizzix Blog Hop blinkie at the top right side of this post ...

... if you'd like to see more,
here are a few Work In Progress photos: 


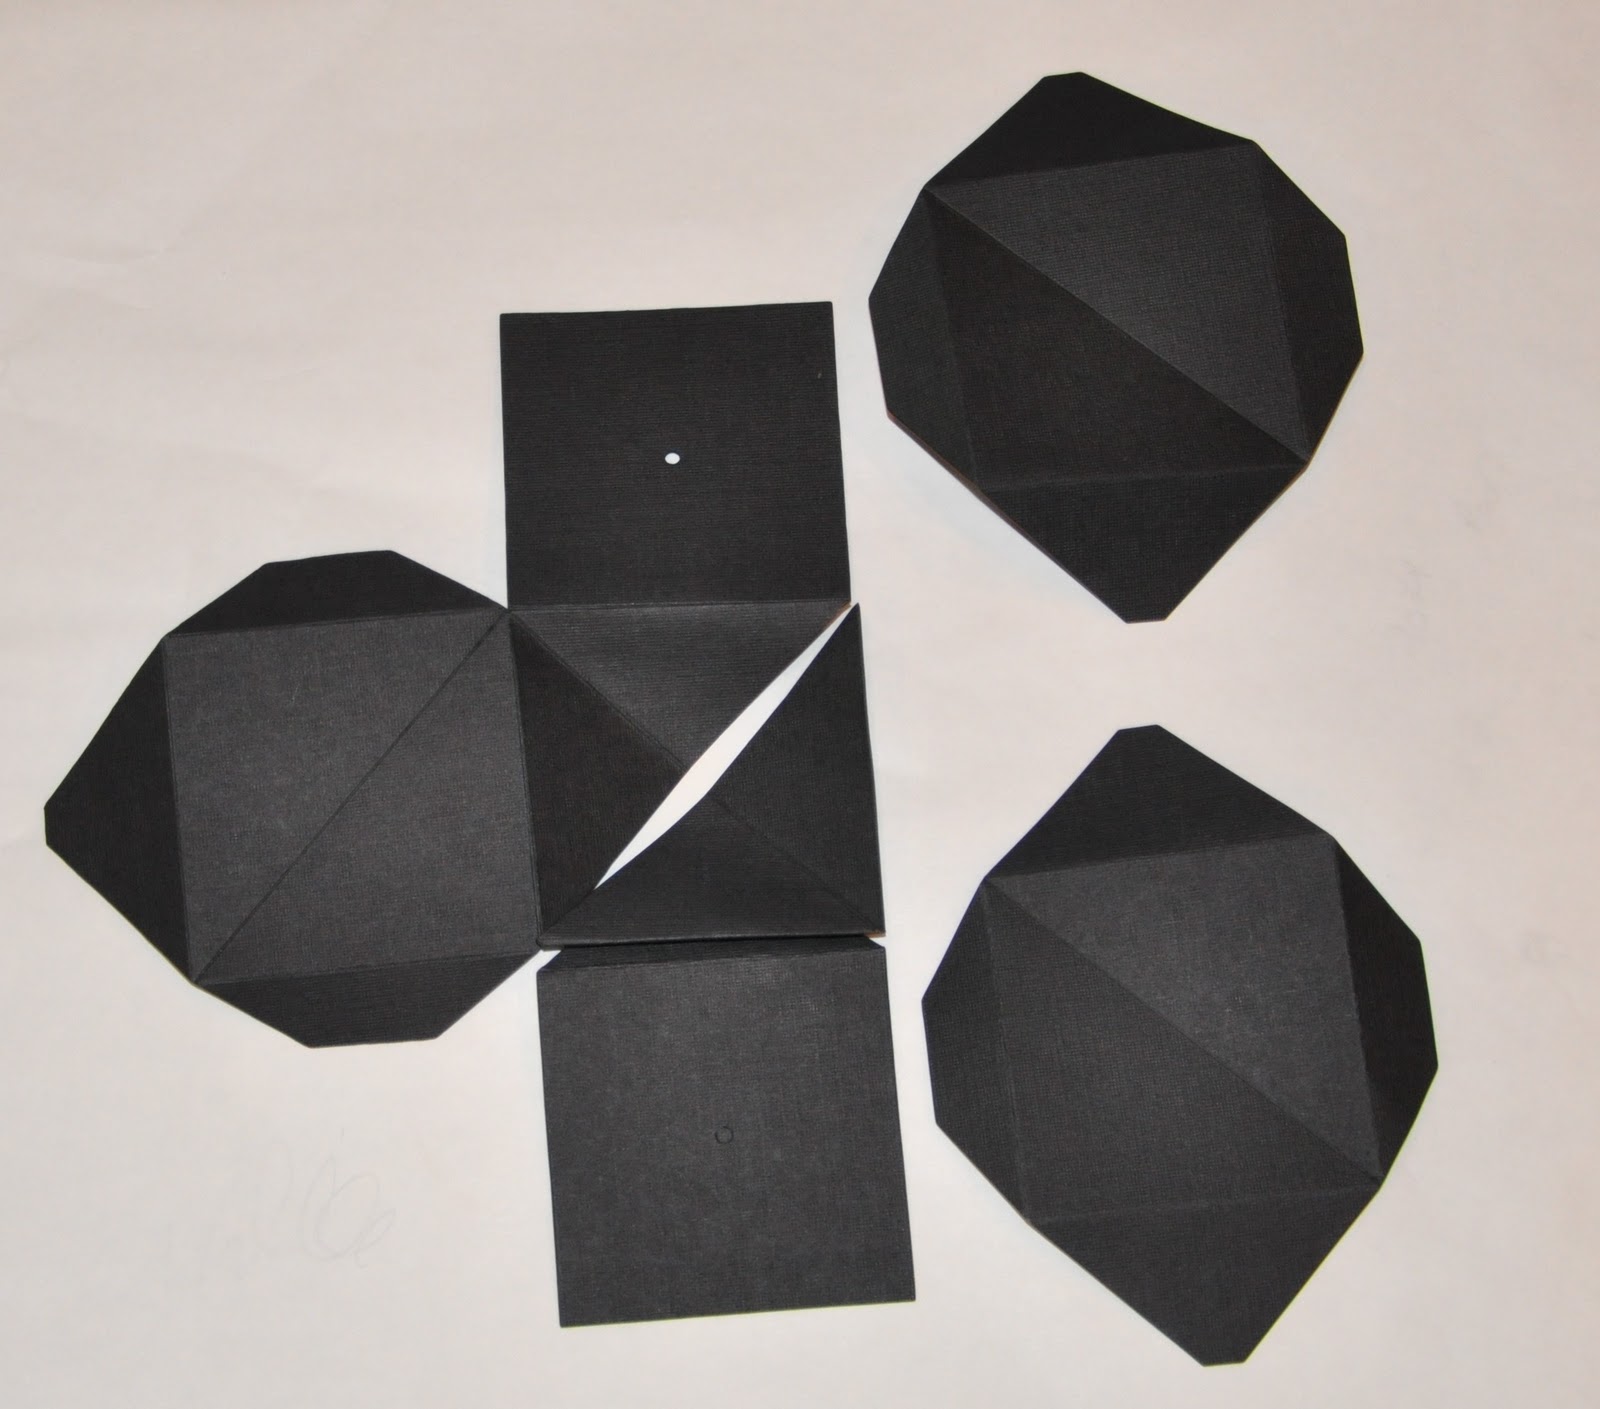
 This is what we all started with ^ 


I painted a sheet of textured acrylic paper black. 


 I cut the painted paper into six 3" x 3" squares; 


 distressed the edges with a sanding block ...


 ... made myself six small patterns ... 


... transferred each pattern onto a paper square
with white transfer paper ... 


... painted, shaded, highlighted, and then outlined
the details with a permanent marker. 


Assembled the cube, and centered a painted paper
square onto each side of the cube.
I used red line tape to adhere the centers
of each paper square ...
... then glued around the edges to keep them from curling.

I can't wait for the hop this morning -
to see what these amazingly creative designers
have done with the Twist Cube!

Thursday, November 4, 2010

Sizzix Blog Hop - 3-D House

 Gingerbread House


Well, you sent a painter a blank "canvas" ...
so this is what I've created
with Eileen's 3-D House Die.

I love painting gingerbread cookies;
and here are the super-cute brads I found:


I took a few pics along the way ...


The blank.
 
  
Sometimes painting on paper can be tricky.
I chose to dab on my acrylic paint with a natural sponge.

  
I used a combination of browns to get a "cookie" look.

  
Then shaded around the edges so it would
look freshly baked.


Too cute!  I just had to add these somewhere -
I think the tiny picket fence was the perfect spot!!!
I cut red and white tissue paper for the candied roof tops.
I painted a couple of peppermint candies
and dusted it with "snow".
I hope you like what I've done!

Now hit "forward" on the Sizzix icon to the right
at the top of this post -
it'll take you through the loop of
participating designers and you can see more
wonderful 3-D House creations!


Peace out ...