Showing posts with label Paper Crafts. Show all posts

Tuesday, August 14, 2012

A Teacher's Survival Kit

 It's that time again!


School starts tomorrow for us ...
I've made up a goody for each
of our teachers and I wanted
to share my idea with you.


(If school has already started,
you could still whip these up ...
better late than never!)


Bandages,
Aspirin,
Emergency Chocolate...


Those are the most important
items in this Teacher's Survival Kit!!


In addition to the jar,
you'll need spray paint for the
jar lids and rims, scrap paper in fun colors
or patterns, a hole punch, and
colored raffia or string.
Oh, and double stick tape and a
permanent marker.


Also gather the things you want to put inside
each jar.  I'm a last minute kind of girl,
so this morning I asked myself:
Self? What did you wish you had handy
when you were faced with a room
full of second graders?!
I'm sure there are
more clever items that I didn't think of!
Feel free to add or substitute.


These were my thoughts:


Soda (I couldn't fit a soda in the jar,
so I added several quarters for the soda
machine), Pain Reliever (ha!),
Minty Gum, Tums, Chapstick,
Chocolate, Almonds (for energy),
Cookies (for fun), Assorted Binder Clips
and Paper Clips (to help keep it together!),
Post It Notes, Bandages, and Hard Candies.


 I used spray paint to coat the jar rims and lids.
Once the first coat was dry, I sprayed
a coat of clear spray sealer over each piece.


Cut a large circle from patterned scrap paper
and attach to each lid with glue
or double sided sticky tape.


I created a tag for each jar:
I cut 2" squares from dark blue paper,
1.5" squares from gold paper,
and I used a permanent marker to
write: Teacher's Survival Kit on each gold square.
You could also print these and
then cut them out.  Whichever!!


I attached the squares to a pre-cut manila
tag, and wrote the teacher's name
across the bottom of the tag.  I used my
laminating machine to laminate each of these
tags, but I have also used clear contact
paper to laminate.  (Just cut two pieces of clear 
contact paper a smidgeon larger than your paper tag.
Seal the tag between the two sheets
of contact paper.  Trim edges as desired).
I tied a tag to each jar
and added a raffia bow to the neck.


Super cute!!!
I can't wait for school tomorrow!


 Peace and Emergency Chocolate ;) 


Also ... here is a quick idea for personalizing
school supplies: you know, I love using a Sharpie marker,
but by the time each of my four children has a list
twenty or more items long ... ... ...
not so much.


 I also use tinyprints.com for personalized
Valentine's Day cards; and for my
oldest, I ordered a red sticker with
"From Brady" printed on it
and I will stick them to a zipper lock
baggie full of yummy treats.
So.  Simple. 

:)


Sunday, October 2, 2011

Westcott DCC Blog Hop

Welcome to October's
Designer Crafts Connection Blog Hop!

October is Breast Cancer Awareness month and Westcott Brand® is challenging members of the Designer Crafts Connection to come up with something spectacular for their First Monday projects 
using Westcott Brand® Cutting Tools!


These Westcott Brand® Cutting Tools are amazing!! 
They easily cut through the stickiest products!


In the past, I have twisted and contorted
myself into all manner of positions
in order to trim, say ... box tape ... into smaller
strips for wrapping packages.


I always ruined pieces because they would
stick to my scissors and when I tried to remove them,
they would stick to each other, or to my
fingers, or to my hair.
(True story).


So when I tell you that these 
Westcott Brand® Cutting Tools are amazing,
I am talking from experience!


I was able to cut The Duck Brand®
sticky Duct Tape® into fringes
quickly and easily!

For this challenge,
I made a pennant banner for my
daughter's bedroom.


Here's how:


Cut pennants from patterned papers.
(Each 12" x 12" sheet gives you two pennants).


Use stencils to spell name onto tracing paper.


Use Westcott Brand® scissors to
cut The Duck Brand® Duct Tape
into pieces of various sizes, and apply them
randomly to the tracing paper,
covering each letter completely.

(Note: cover the right side of the paper.
You'll be able to see the lettering - in reverse -
through the tracing paper when you flip it over).


Cut out each letter using the appropriate
Westcott Brand® Cutting Tool.

Scissors are great for cutting around each letter;
the craft tool is excellent for cutting
the insides of the letters.


Trim double-sided sticky tape and
attach to the backs of the letters.

(I have NEVER BEFORE been able to cut double
sided sticky tape without the tiny pieces
of tape sticking to my scissors!)

Adhere these to a sheet of The Duck Brand® Duct Tape.
(I chose to back my letters with the white tape).


Cut around each letter, leaving a 1/8" border.
(sorry - I must have been so
absorbed in my work I didn't get a pic)


Peel backing off The Duck Brand® Duct Tape
(this was SO cool!)
and adhere one letter to each banner. 


Sand (or ink) edges of paper, if desired.

Punch holes in top corners of each pennant.

Attach pennants together with ribbons
or brads -this allows the pennants some range
of motion once your banner is hung.


Trim VELCRO® Brand Hook and Loop Fasteners
into small squares.


Attach one side to back of each "end" pennant,
and one side to the wall, window, or wherever you're
hanging the pennant banner.


Hang and enjoy!!


This was soooo simple!
I canNOT live without these Westcott Brand® 
Cutting Tools!

They. Are. Truly. Amazing.

Please check out the Westcott Brand®
auction link:

http://charitywingsnews.blogspot.com/2011/10/westcott-brand-and-friends-auction-for.html


Peace ... and Westcott Brand®

Thursday, December 16, 2010

Sizzix Blog Hop - Treat Bag Toppers

If you're hoping I saw something
a little different this time ... like a chick
or a duck or an owl ...
I didn't.
I do love these treat bag toppers.
Don't limit yourself to topping treat bags -
or don't limit your treats to sweets.
How about a homemade ornament?
Or a gift card?  Or a small toy?

  
Merry Christmas!
You've been good this year!!


Thursday, December 9, 2010

Sizzix Blog Hop - Album, Brackets

I think this would make an
adorable album ... but I saw something
different when I had all
the cut pieces in front of me.
I saw an owl.


I attached him to the front of my sketch pad
along with a wide ribbon.
He'll be keeping me company until
it's time for a new sketch pad!

Thursday, November 25, 2010

Sizzix Blog Hop - Frame and Frame Back

HAPPY THANKSGIVING!!!
What a great die to have!  Initially I thought I'd
go with a Thanksgiving design,
seeing as how this is posted on Thanksgiving Day ...
but I got so excited when I
laid out all the pieces ...
and I knew just which photo I would be
showcasing!!!


I painted the Frame Back red and brushed on a coat
of Plaid Extreme Glitter.
Then I painted the larger frame front
(smooth edge on the outside)
a baby blue, and sanded the edges.
I painted the smaller frame front
(scalloped edge on the outside)
white and dusted it with white flakes of snow.

I added a little bling to the straps
after painting them blue;
and the glittery heart needed bling, too.

My youngest son says this is the car he wants Santa
to bring him for Christmas!
Ahh ... to be six again!!!

May all your Christmas wishes come true!
Peace!!

Thursday, November 11, 2010

Sizzix Blog Hop - Twist Cube


Here's my take on the Twist Cube ... no twisting involved!
I thought, and I do hate to be redundant ...
(I'd so much rather have a clever different way to say this)
... so again, I thought ...
blank canvas!
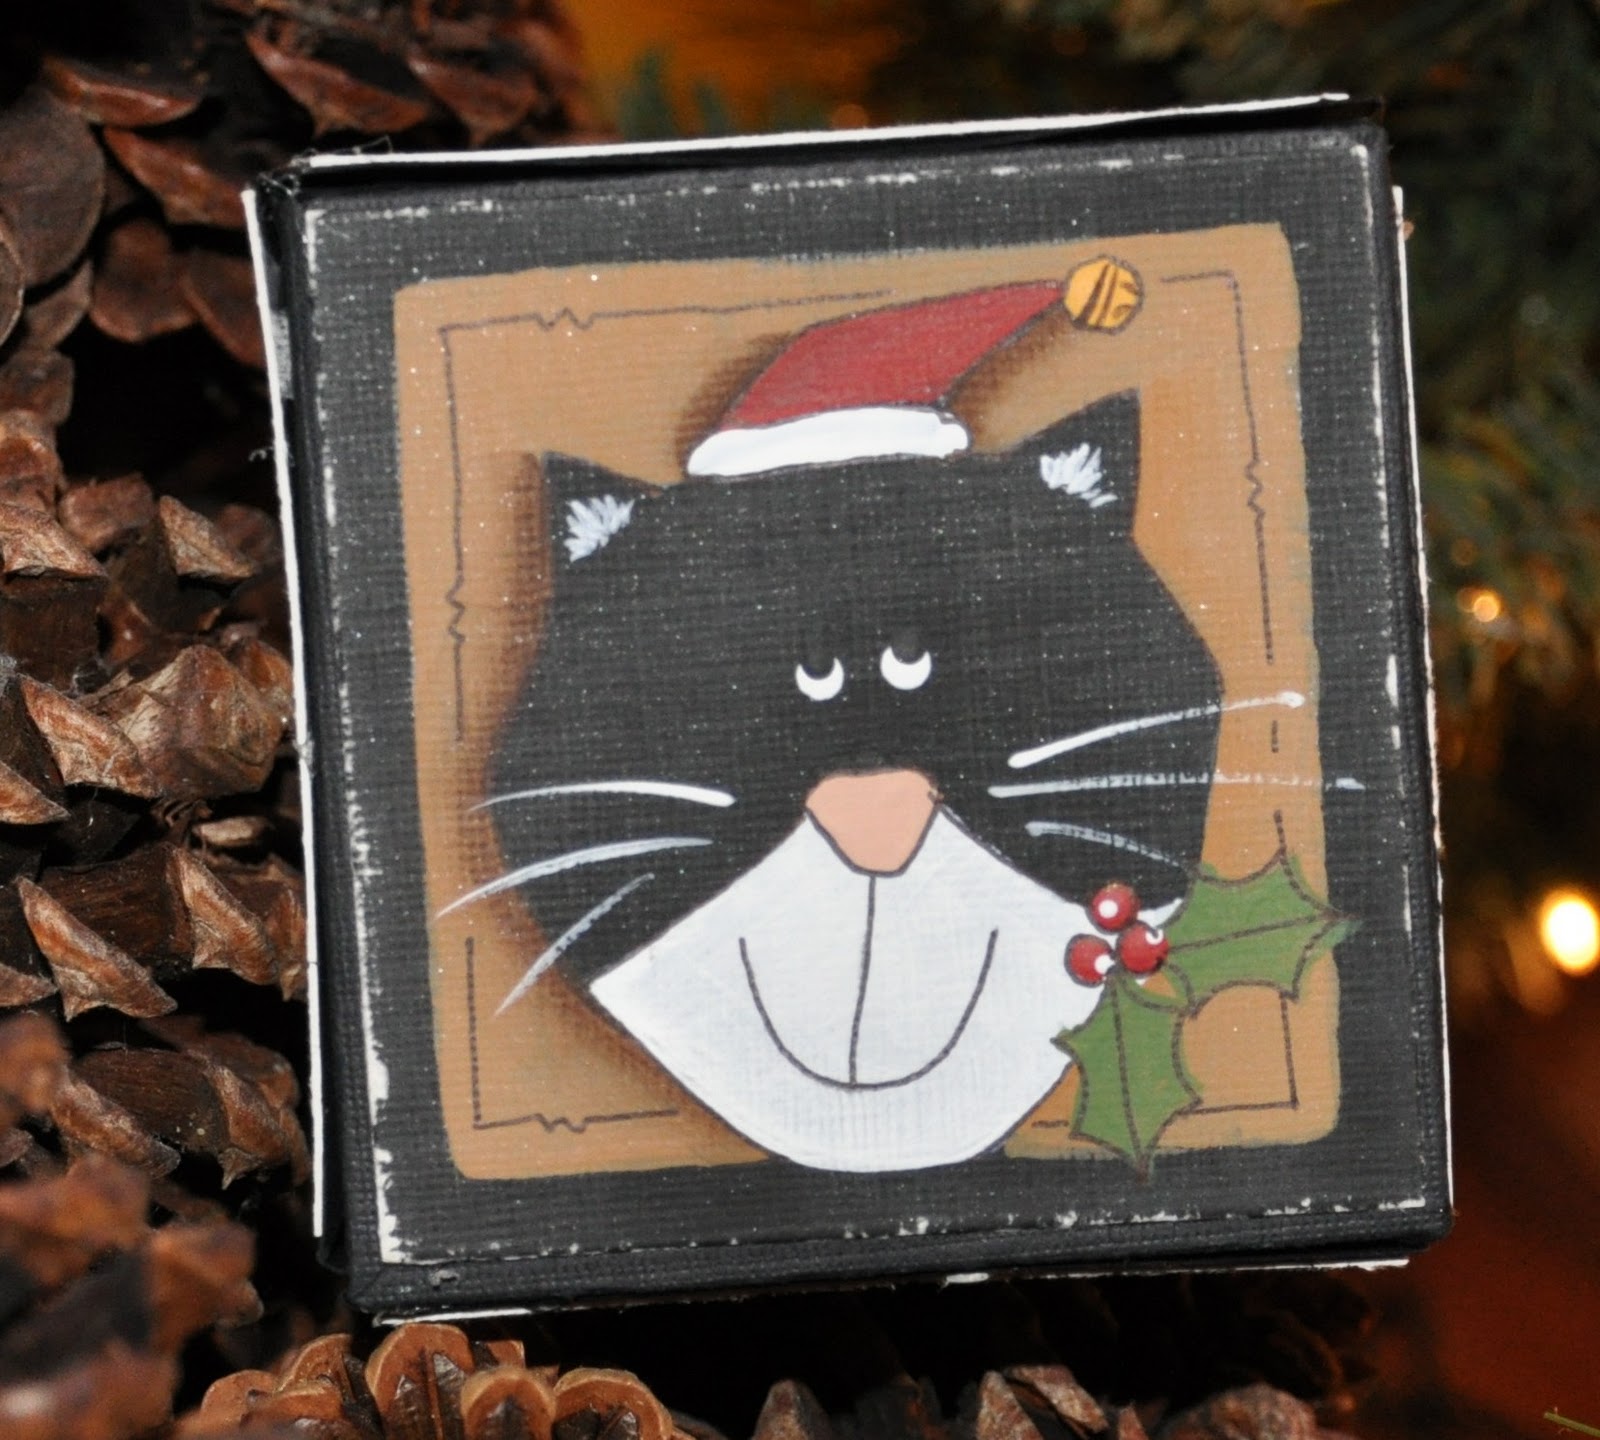
What a great way to showcase six little Christmas
icons - all at a cute little 3" x 3" size!!!

Here they are:


 The Christmas Puppy 


 The Christmas Kitty


 The Christmas Star - all tangled in lights ...


A Snowman with Earmuffs! 


 A Snowman in a Floppy Hat - with Jingle Bell ...
and lastly, my personal favorite: 


 A Snowman in a Woolly Tasseled Scarf!!

If you're ready to move on, just click the
Sizzix Blog Hop blinkie at the top right side of this post ...

... if you'd like to see more,
here are a few Work In Progress photos: 


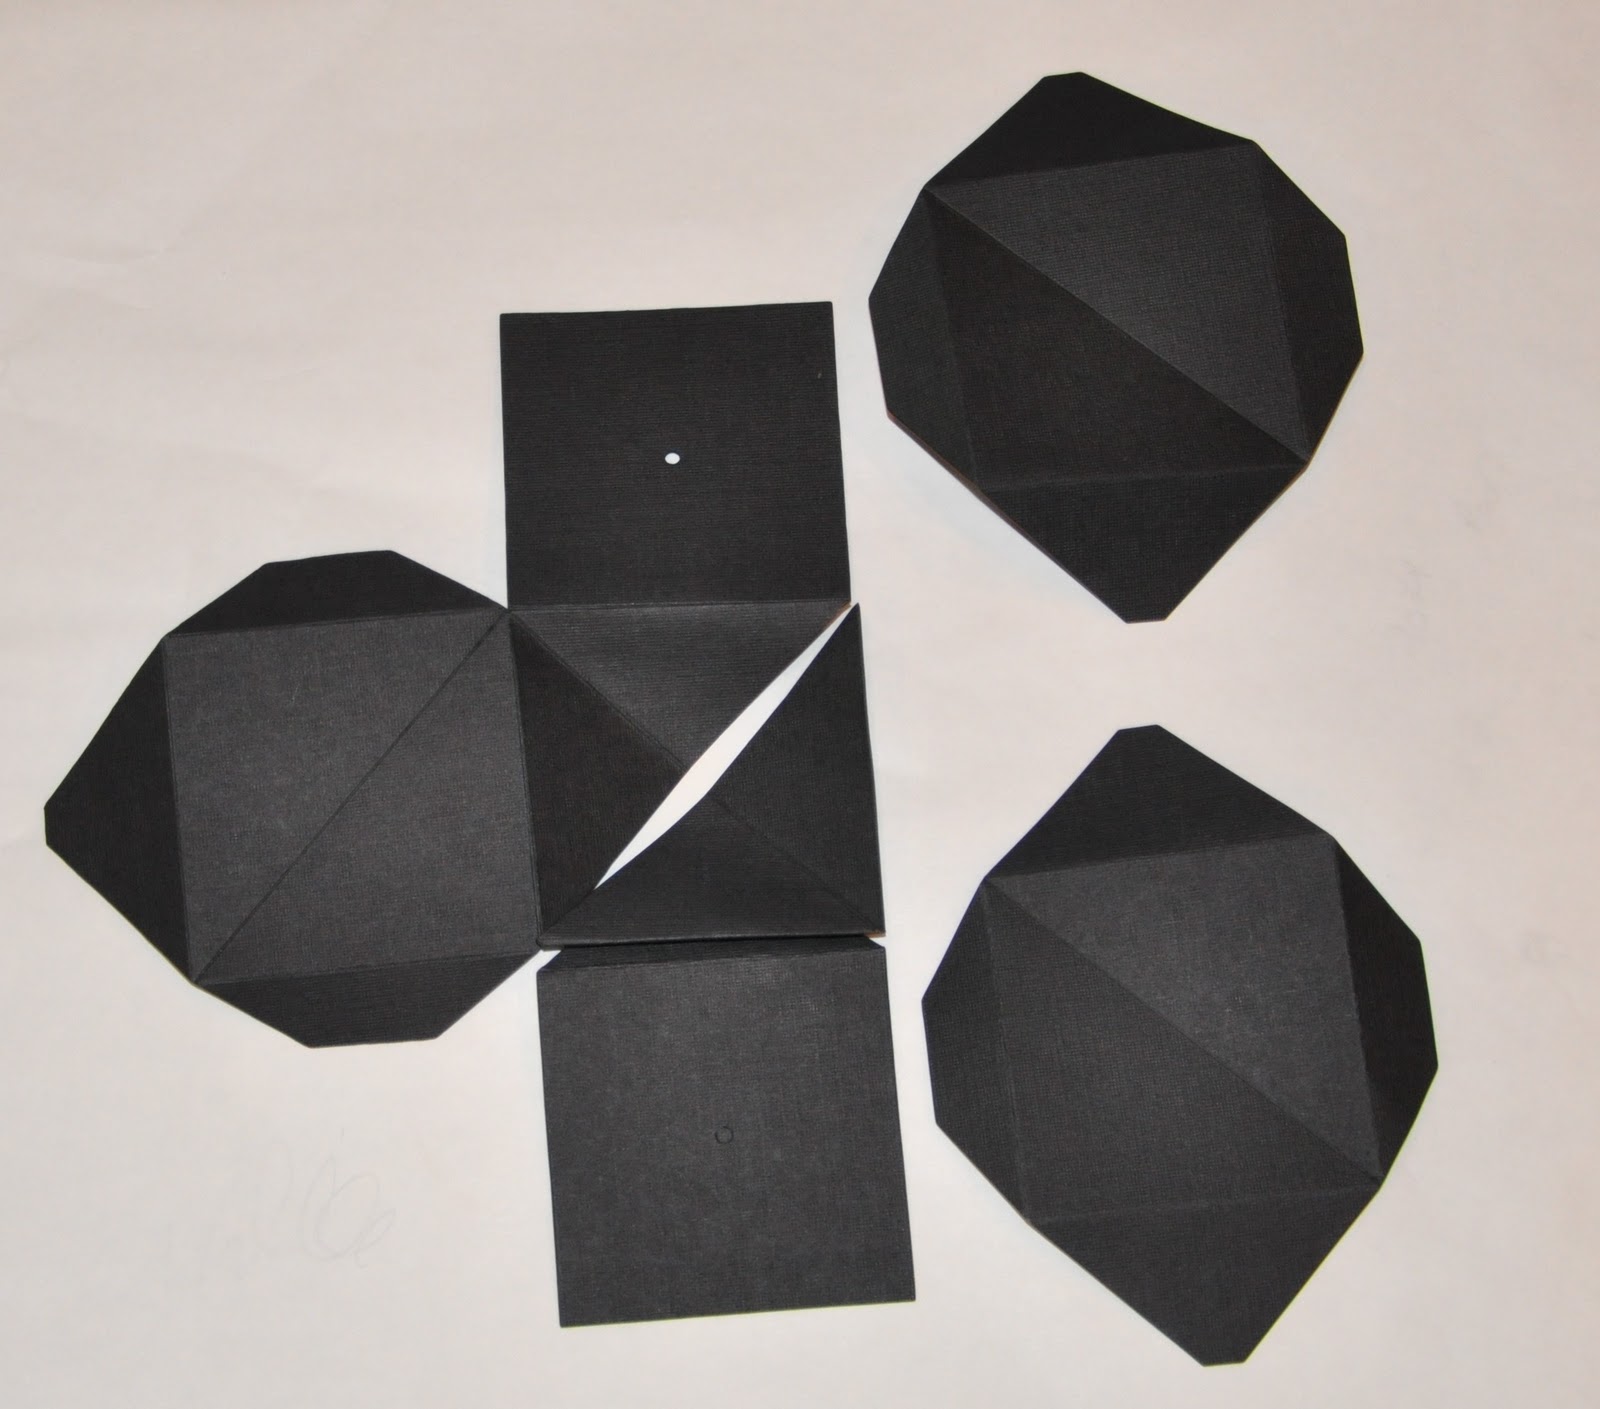
 This is what we all started with ^ 


I painted a sheet of textured acrylic paper black. 


 I cut the painted paper into six 3" x 3" squares; 


 distressed the edges with a sanding block ...


 ... made myself six small patterns ... 


... transferred each pattern onto a paper square
with white transfer paper ... 


... painted, shaded, highlighted, and then outlined
the details with a permanent marker. 


Assembled the cube, and centered a painted paper
square onto each side of the cube.
I used red line tape to adhere the centers
of each paper square ...
... then glued around the edges to keep them from curling.

I can't wait for the hop this morning -
to see what these amazingly creative designers
have done with the Twist Cube!

Monday, November 8, 2010

Toy Soldier Gift Tag


I've decided on the paper and ribbon I'll be using for some
of my gift giving this Christmas ...
the next step was a coordinating gift tag!

I ordered some round heavy weight coasters last 
year.  Since I had some left over,
I thought I'd use those.


Here are the paints I used:
DecoArt® Americana® Acrylics:
Hauser Light Green, Hauser Medium Green,
Black, Flesh Tone, Honey Brown
Primary Red, Napa Red
Marigold


Here is the pattern:
 
First, I base coated the front, back, and sides
of each coaster with light green acrylic paint.
I sponged on an even lighter shade
to give it some texture.


Next, use transfer paper to copy the main pattern
outlines to the dry coaster.


Shade around the main pattern lines with medium green.


Base coat the larger areas and add details as needed.


Shade and highlight where appropriate.


Brush on a coat of acrylic sealer and allow to dry.
Then outline details with
a black permanent marker.

I sprayed the edges lightly with sealer
and added some glitter;
then spray again so the glitter doesn't rub off.


Punch a hole in the top; thread embroidery floss
or ribbon through for hanging.

Handmade for the Holidays!