Showing posts with label Birds. Show all posts

Friday, May 11, 2012

ImpressArt BLOG HOP!!!

 Hi and Welcome to my blog!!


I am one of twenty designers lucky enough
to be designing with ImpressArt Metal Stamps today!


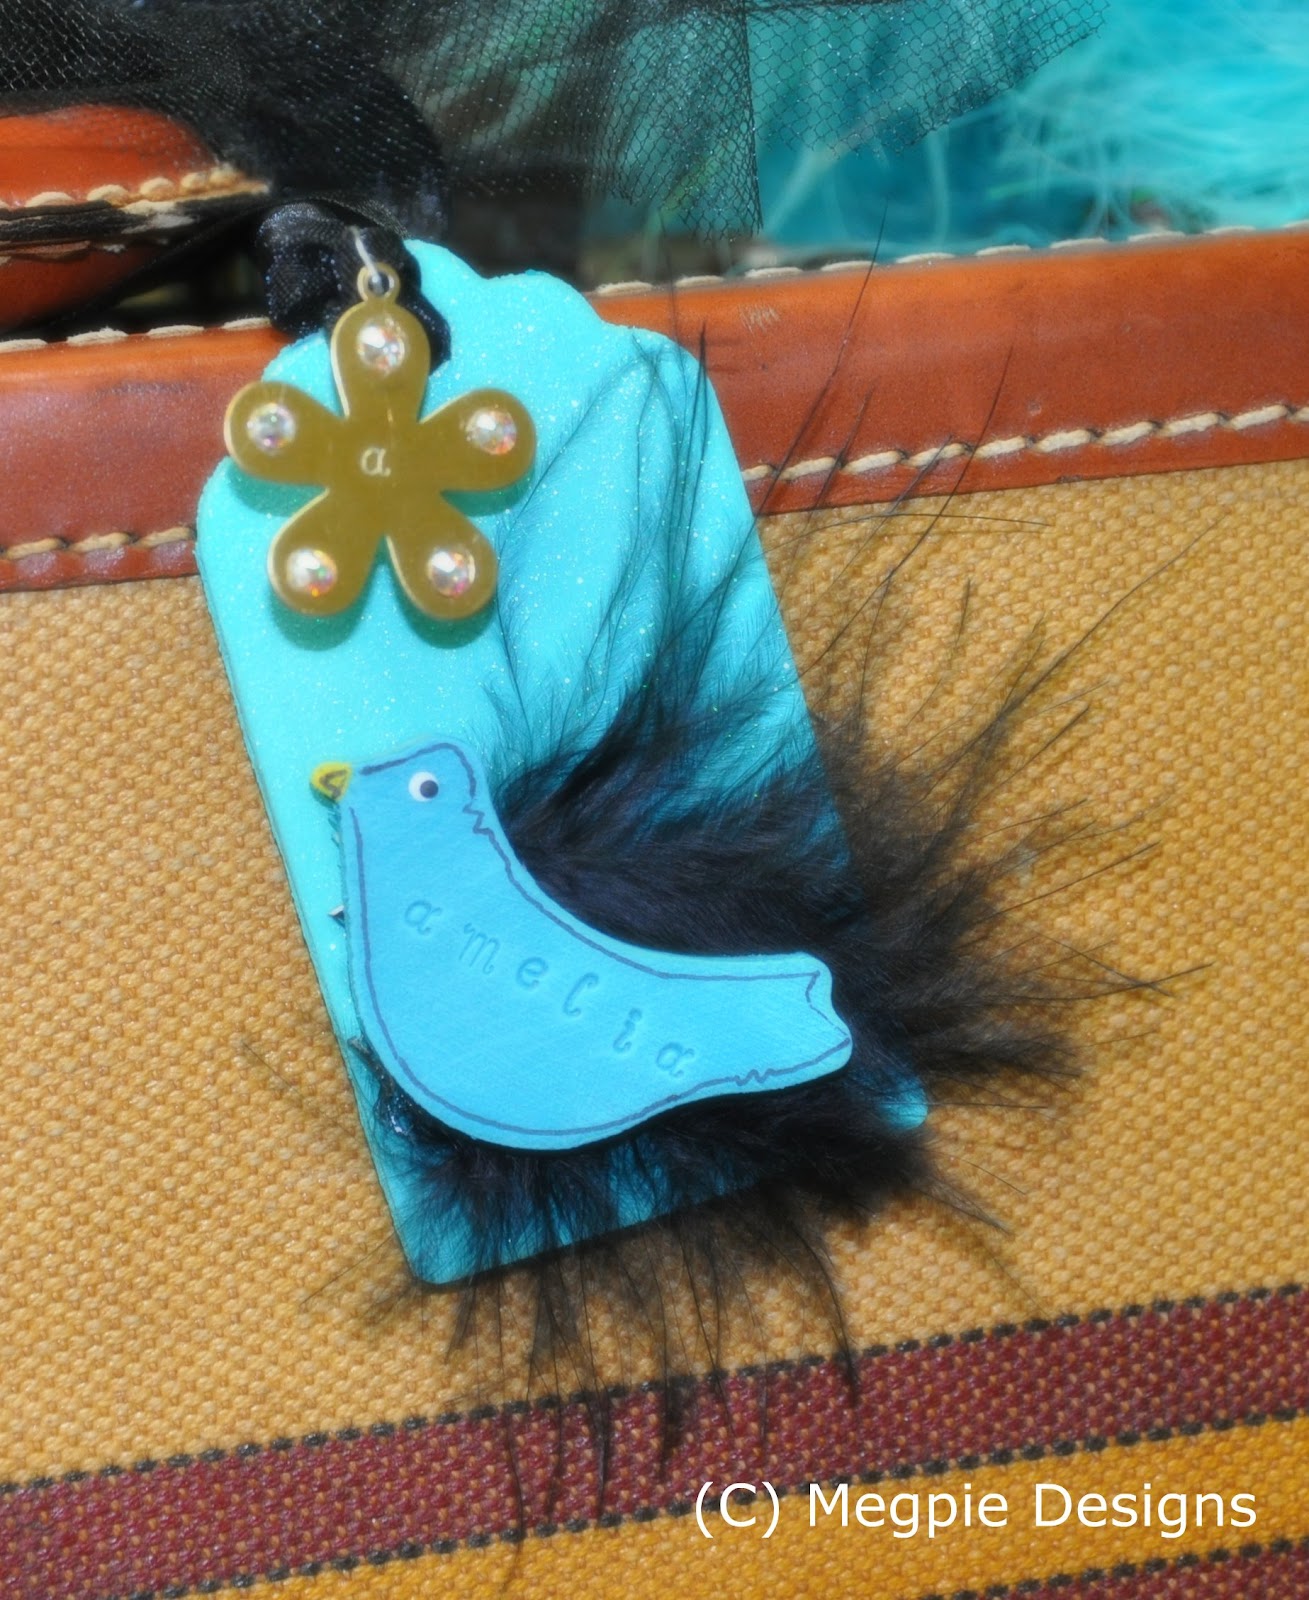
I've made a quick and easy Bag Tag
with these amazing products -
I hope you'll feel inspired to work with these
products as well!!


Be sure and enter their contest
 and you could be the Grand Prize winner of
$120.00 worth of ImpressArt products! 


Here are the supplies needed to make the Bag Tag:

ImpressArt Supplies:

-ImpressArt Alphabet Stamp Set, Ballroom Boogie (lowercase)
-ImpressArt Metal Stamping Blank, Flower
-ImpressArt Metal Stamping Hammer
-ImpressArt Steel Stamping Block
-ImpressArt Stamp Straight Tape
Other Supplies:
4" Wooden Tag; 2" Wood Bird Cutout; (5) 12ss Swarovski Crystals;
Black Feather; E6000 Adhesive; Acrylic Paints: Turquoise,
Marigold, White, Black, Extreme Glitter Hologram;
Sanding Block; Permanent Marker; Clean Rag; Ruler


First, I stamped the Flower blank.
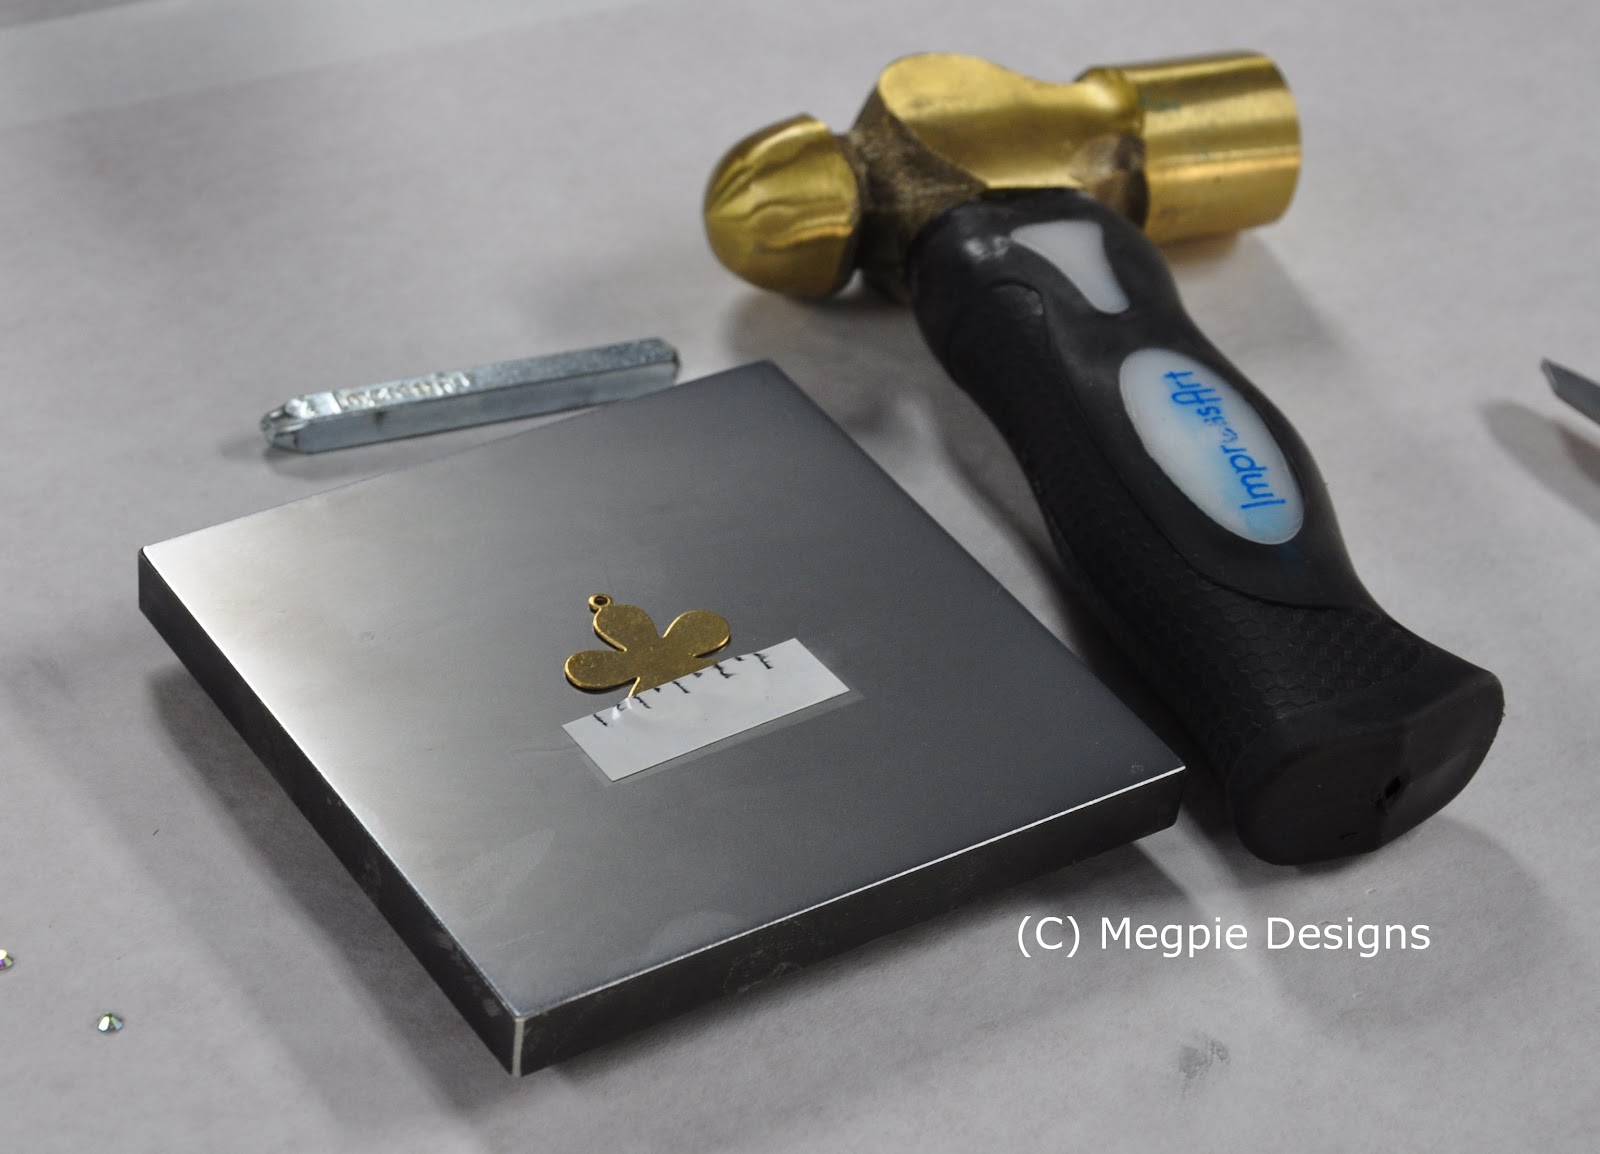

Place the ImpressArt Metal Stamping Blank (Flower)
on the ImpressArt Steel Stamping Block.
Apply ImpressArt Stamp Straight Tape across the
flower and use the ruler to mark 1/8" guidelines.
 Place the ImpressArt Alphabet Stamp on the blank.
Lightly drag the stamp towards the center of the tape
until you feel the bottom of the stamp
catch the top of the tape.
Strike the top of the stamp with medium pressure;
if you've hit the stamp too lightly, you can
strike again as long as the stamp has not been moved.

Use the permanent marker to color the impression.
Without allowing the colored impression to sit too long,
use a clean rag to wipe off excess ink.
(I used E6000 adhesive to apply 
one Swarovski crystal
to each of the flower petals).


Use this same stamping technique to stamp the
entire name onto the wooden bird.
Paint the bird with Turquoise acrylic paint.
Sand lightly over the top of the painted bird;
this will remove some of the paint
leaving darker stamped impressions behind.
Paint the beak Marigold, and the eyes are
dip dots of white, and then black.
You could check out my tutorial 
on painting dip dots *here*
Paint the front, back, and sides of the wooden
tag Turquoise.  Allow to dry.
Use the sanding block to smooth
the paint on the top of the tag, and to
remove some of the paint along the edges.
Coat the entire tag with Extreme Glitter
Hologram to give the tag some shimmer.
I used E6000 adhesive to attach the feather
and the bird to the bottom of the tag.
Thread a 12" length of sheer black ribbon 
through the top of the tag.  Attach the 
Flower charm with a split ring.


I used the permanent marker to outline
the wooden bird.


There it is! It says "spring" with a little
"bling" and I hope you like it!!


Please use the Designer Crafts blinkie
at the top of this post to Hop Forward
and check out more fun projects using
ImpressArt Metal Stamps!


And because I couldn't resist ... something just for fun:
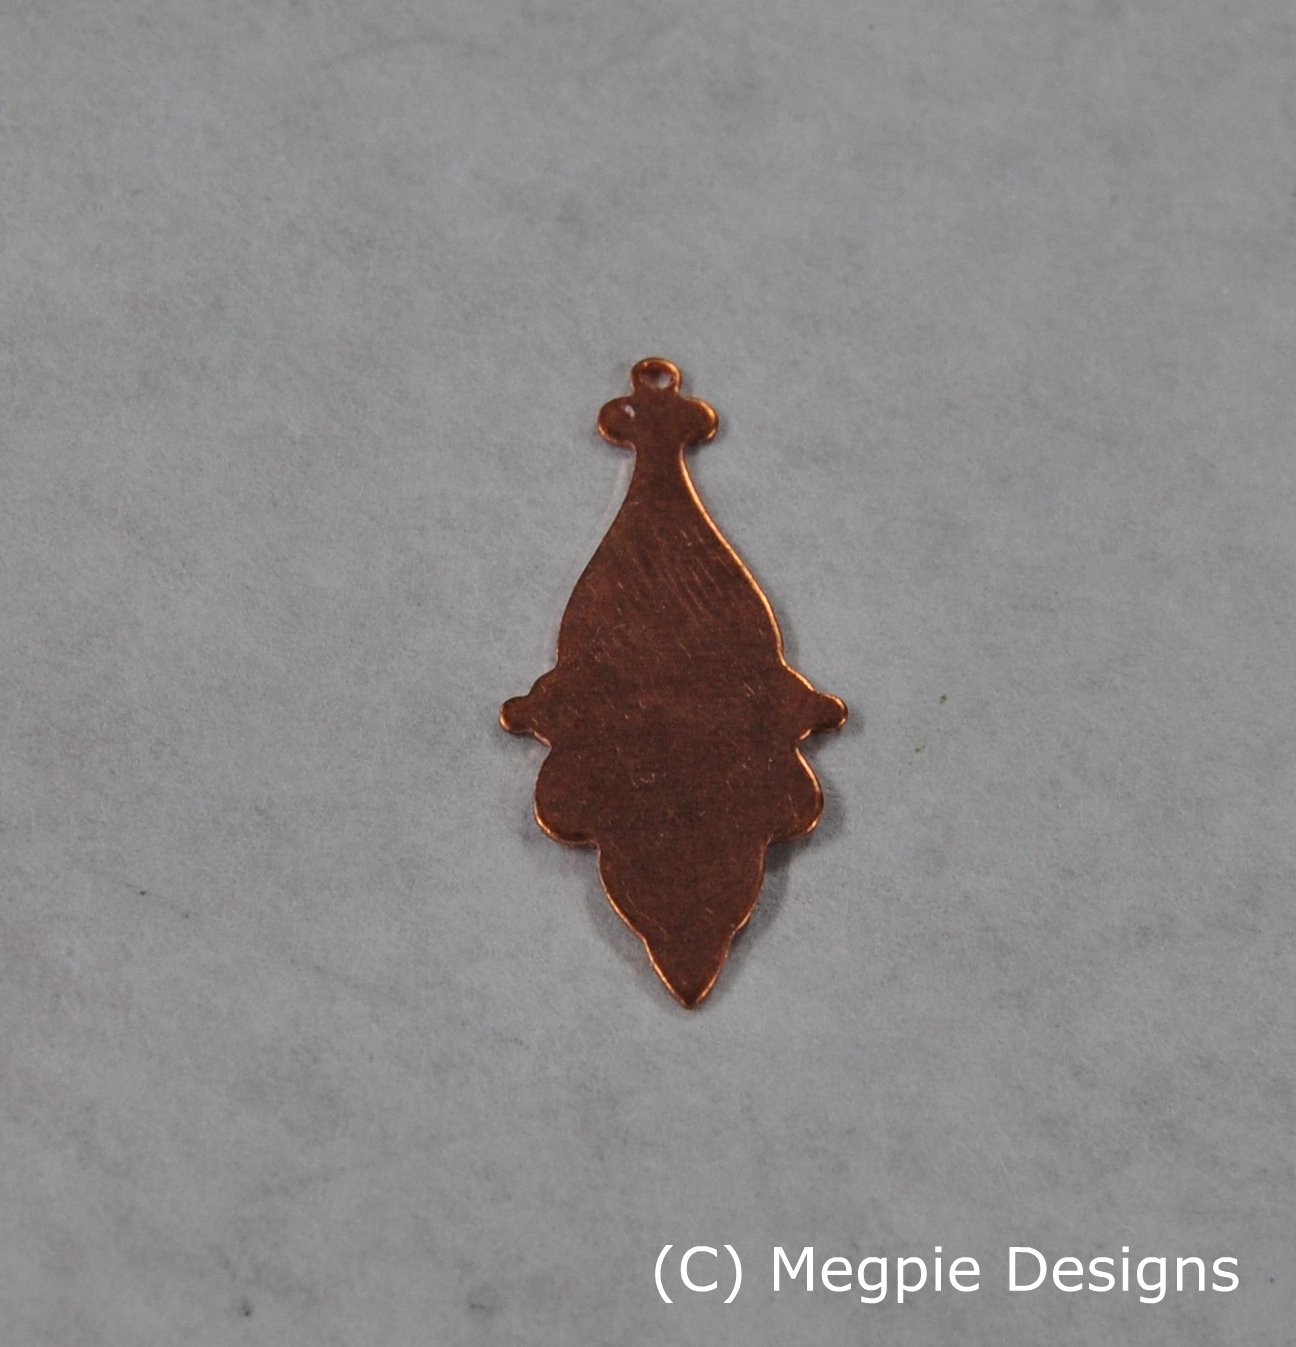


I just had to create this Santa 
from one of the fabulous 
ImpressArt Metal Stamping Blanks!!!


Peace and Bag Tags!!
Ho Ho Ho


Tuesday, December 20, 2011

School Room Snowmen

This year, I had 70 ornaments to make
for the classmates of my children.


Since my 11-year-old had already
specifically requested a particular ornament,
which would be difficult and time-consuming
to make for his 14 classmates,
I knew I had to find something super
quick and easy to make for the remaining
56 children in my other kids' classes.

I decided to make
School Room Snowmen!!

(or Ruler Snowmen)
whichever of those names you prefer


For every FOUR ornaments, you will
need one wooden ruler 
(look for a ruler without pre-drilled holes)
acrylic paint in white, black, red, and gold.
Extreme Glitter in Black,
and Plaid Dimensional Paint in orange.


Also, mini craft sticks for hat brims,
wooden birds for the school mascot,
red ribbons for hanging and
a permanent black marker for outlining.


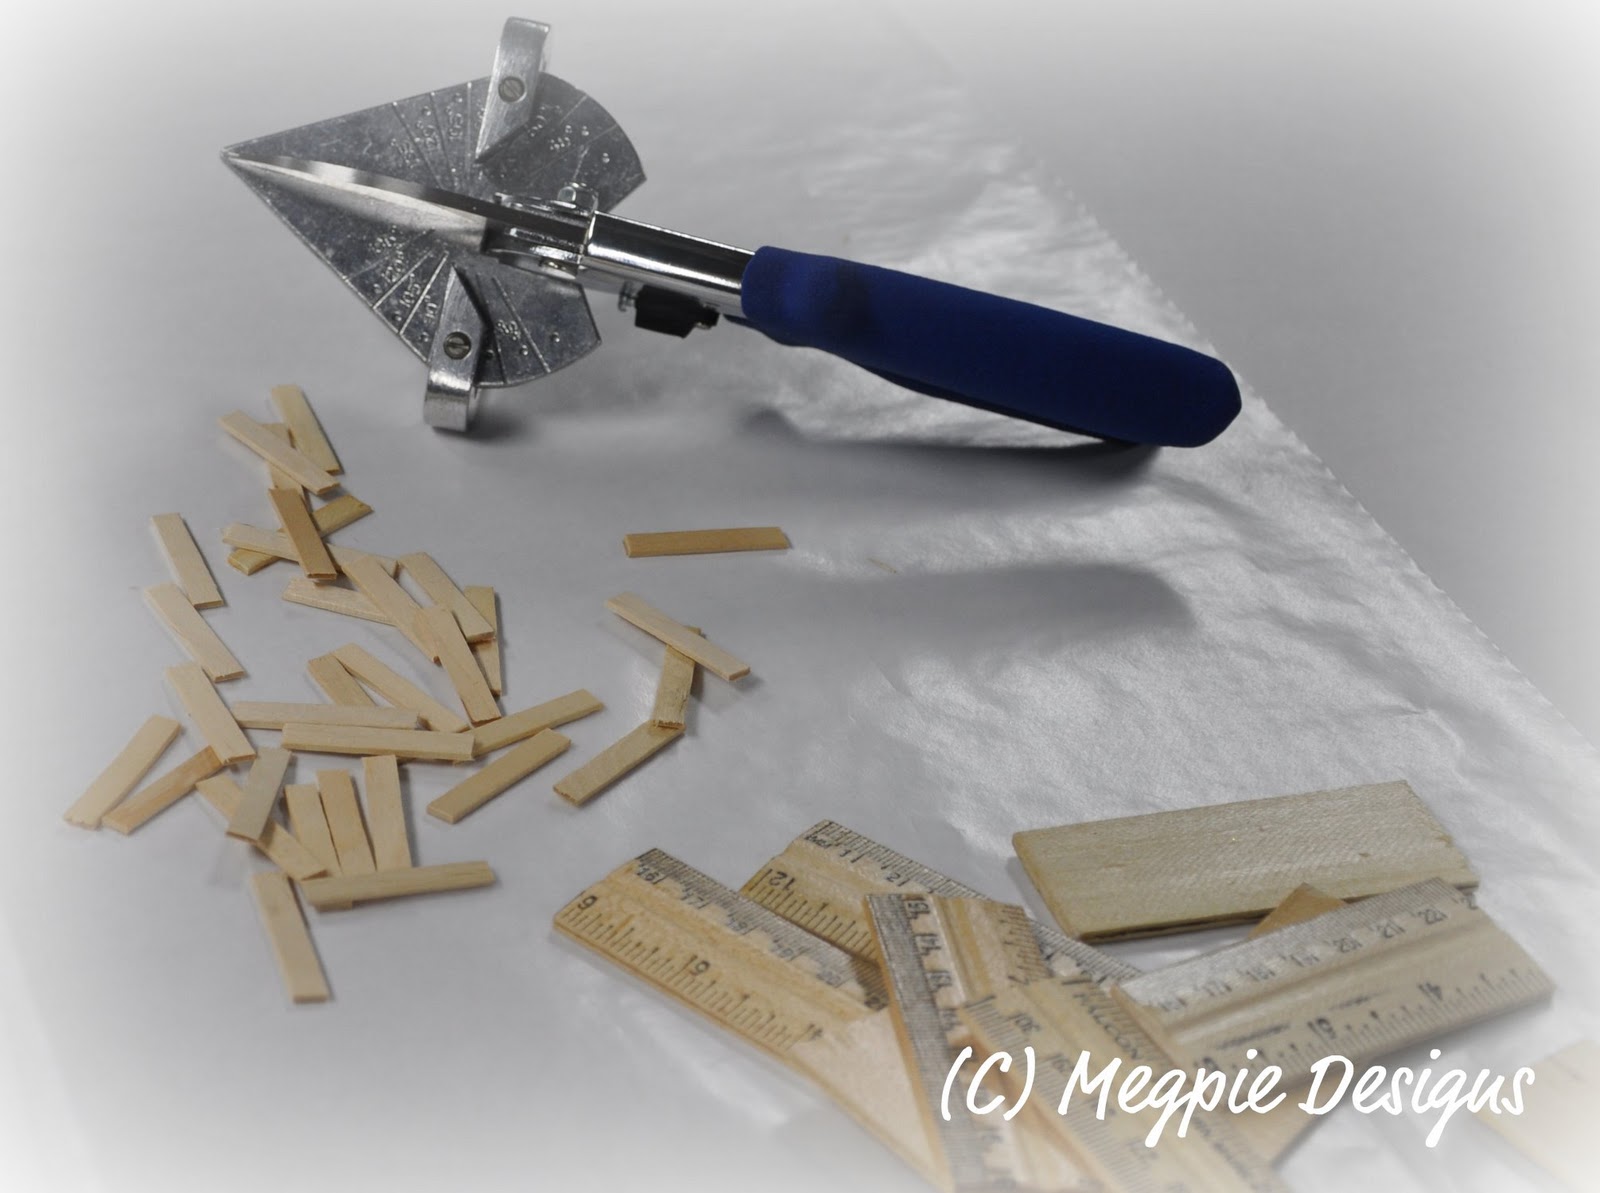
Use the Midwest Products Easy Cutter Ultimate
to trim each ruler into four 3" lengths,
and trim the mini craft sticks to just a hair
wider than the ruler, so the hat
brim hangs over just a bit on either side
of the snowman's head.


Use Aleene's® Tacky Glue®
to adhere hat brims to each ruler segment.

I attached my hat brims
towards the top of the segments,
rather than directly in the center.
However, I've made many of these types
of ornaments, and attaching the brim
a little lower makes for a totally different look:
a really tall hat and a small face,
versus the small top hat and the larger face.
I wanted to date these ornaments,
so I made the hats smaller.


Paint the craft stick and the
top half of the ruler segments with
black acrylic paint.
Brush Plaid's Extreme Glitter Black
over the hats for extra shine.


Paint the bottoms of the ruler segments
with white acrylic paint.
Leave the backs unpainted;
to keep the "School Room" feel of
these ruler ornaments.


I use a cotton swab and pink
powder blush to blush the cheeks of
each snowman's face.


Use a stylus dipped in black paint
to dot the eyes and the mouths.

Dip the stylus before each dot
for same-sized dots ...
dotting two or three times before
re-dipping into the paint
gives you descending-sized dots.

I used my Crop-o-Dile to
make a hole in the top center of
each snowman's hat,
so I could thread some ribbon
through for hanging.


NOTE:
For step-by-step photos
of how to paint dots and carrot
noses, please click here.


Because I am making these ornaments
for the classmates of my children,
I want to add our school mascot,
the cardinal.


Here is a quick tip I found for painting
small wooden pieces, such as these 
bird cut-outs:

Spread out a piece of GLAD®
Press'n Seal® sealing wrap,
sticky side up,
and press the birds onto the paper.
This holds them in place while
you use a paint roller dipped in red
acrylic paint to base coat the birds
quickly and easily.


A quick way to make the triangle
shape on the cardinal's head,
is to use a small flat brush dipped
in black paint; lightly press the brush
diagonally across the bird's head.
Ta Daa!!!


Allow to dry before dotting the
eyes first with white paint,
and then with black paint.
Brush on a coat of Plaid Extreme Glitter
in Red for extra shine.

Use a detail brush dipped in
gold or yellow paint to highlight the
bird's beaks.


I threaded the ribbon through
each hole in the hat before I attached
the birds ... I thought it was
easier than waiting to thread the ribbons
and possibly running into a hat
whose hole was covered by a bird.
;)


There we go!
56 School Room Ornaments!!
As a final touch,
I used a black permanent marker
to outline the snowman faces,
define each bird's wing,
and add the year to the bottom.


* Peace and Snowmen *

Thursday, August 18, 2011

A Barn Bathroom

A barn bathroom; a bathroom for a barn;
however you say it, the window needs a curtain.


Actually, this barn is pretty centrally seated on
one hundred and twenty acres of
... well, trees, actually ...
so really, it's pretty private just by location.


My daughter disagrees.
Something about "nature" watching
her when nature calls??


Nah, I actually see her point.
Even Bambi doesn't need to see all that. 
Right?
Besides, decorating is the fun part.
That's my story; and I'm sticking to it.


You may have noticed that none of these pics
actually shows the bathroom window
as the focal point.

Yea, I dunno.  I've been through
three different camera chips and clearly
I never thought the window was the
most interesting part of the bathroom ... until now,
and I don't have a direct photo of it.

I made the curtains anyway,
so this post will go on ... and I promise to
come back at a later date
(hopefully this evening)
and add a picture of the window.

Keeping in mind, if you will,
that nothing is completed yet EXCEPT
my curtains, and I can't hang
them in the window until the plumber
wraps up his business in that room
and the "cleaning crew"
does its thing.  

Actually, as the "" "" indicate, I have
more to say about this, but I'll save it for another post.

Moving on ... to curtains!!


I bought a fabric shower curtain,
and cut it right up the middle into two panels.
 
  
I pressed the edges to smooth them out.


Because yellow is my "pop" color in the bathroom,
( you know all about "pop" colors, right? )
I bought blanket binding in that color and pinned
it to the cut edges of each panel.
I sewed a straight stitch down the
outside edge of the binding,
and another straight stitch down the 
inside edge of the binding.
Then I pressed both panels again.
Picture of finished curtain panels.
For the window.
From a shower curtain.

!
Oh, and I'm making curtain tie-backs
with those nests and birds you see
in the photo ... up next!!

Peace

Monday, May 2, 2011

Designer Craft Connection

May 2011
Designer Craft Connection Blog Hop
Spring Canvas


Nothing says Spring like a sweet little bird!
I've painted these on jars and flower pots,
and this time I decided to use a 9" x 11" canvas.


Use the Designer Craft Connection blinkie
at the top right of my blog,
and hop forward or hop back to view
all the wonderful Spring or Mother's Day projects!

Be Inspired!!!

Peace out


Sunday, March 13, 2011

Designer Crafts - Wedding

My wedding inspired craft:

DSC_1548 by megpie.design
DSC_1548 a photo by megpie.design on Flickr.

A tiny, feathered bride and groom ...
painted on tiny canvases
and perched on tiny easels!


Tuesday, February 1, 2011

Feed the Birds!!!


Sitting outside the dance studio last night,
I remembered I hadn't filled the bird feeder and a
MAJOR STORM was about to hit.


I text my husband, thirty-five miles away at home
with the boys:

"please fill the bird feeder before
the (insert snowman icon here) hits"

and I get in reply,

"we will"

I love technology!!!
In the middle of the night, I woke up for
two reasons: my six year old was between us
in bed with a 104° fever,
(so he needed a dose of Motrin and a
cooling strip for his forehead and back);
AND I was worried that the raccoons
would eat all the birdseed
out of the bird feeder!


From the house, it looked like two of the
tubes were clogged; so out he went ...
... my adorable husband ... 


... into the snow ...


... to unblock the tubes, top everything off
with fresh birdseed, and ...


 ... here they came!!!


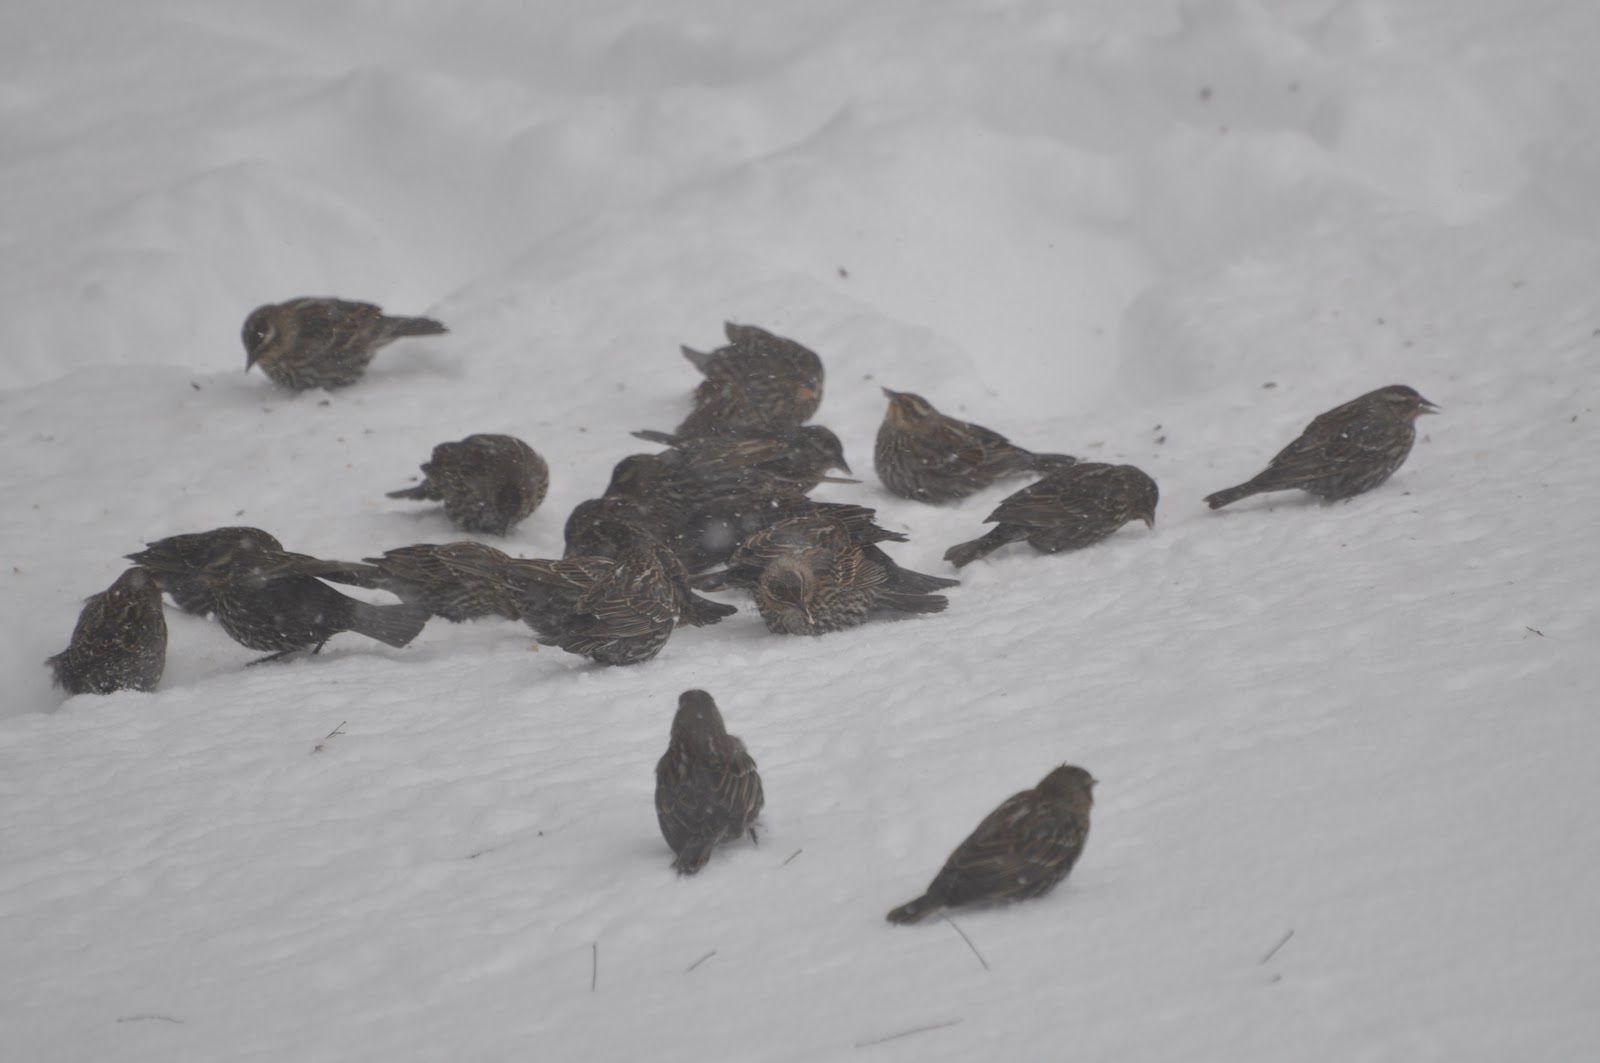
This is the view from my bedroom window:


This pic is of the back deck;
look under the wooden chest ...


They're so quick, I couldn't catch them with
my camera, but the birdies are
ducking for cover underneath the chest
on the back porch!
My husband told the boys the birds
are under there playing poker
and smoking cigars.

???