Showing posts with label Super Simple Recipes. Show all posts

Wednesday, December 11, 2013

Clay Dough Ornaments

Bright, White Clay Dough


While I can always use the salt scrub effect
on my dry, papery man-hands ~
(you know, rinsing my paintbrush after every
color change really does a number
on my skin!)
~ I've made the salt dough ornaments.

You know, the classic 
"been there, done that"
so when I found a recipe for smooth, bright
white ornaments ... I had to try it!


Here's the recipe:

2 Cups Baking Soda
1 Cup Cornstarch
1 1/4 Cups Water 

 
 Stir ingredients together in a 2 quart saucepan.


Bring to a boil over medium-high heat,
stirring constantly with a wooden spoon.


Continue to stir until mixture is boiling.


Once the mixture starts to boil,
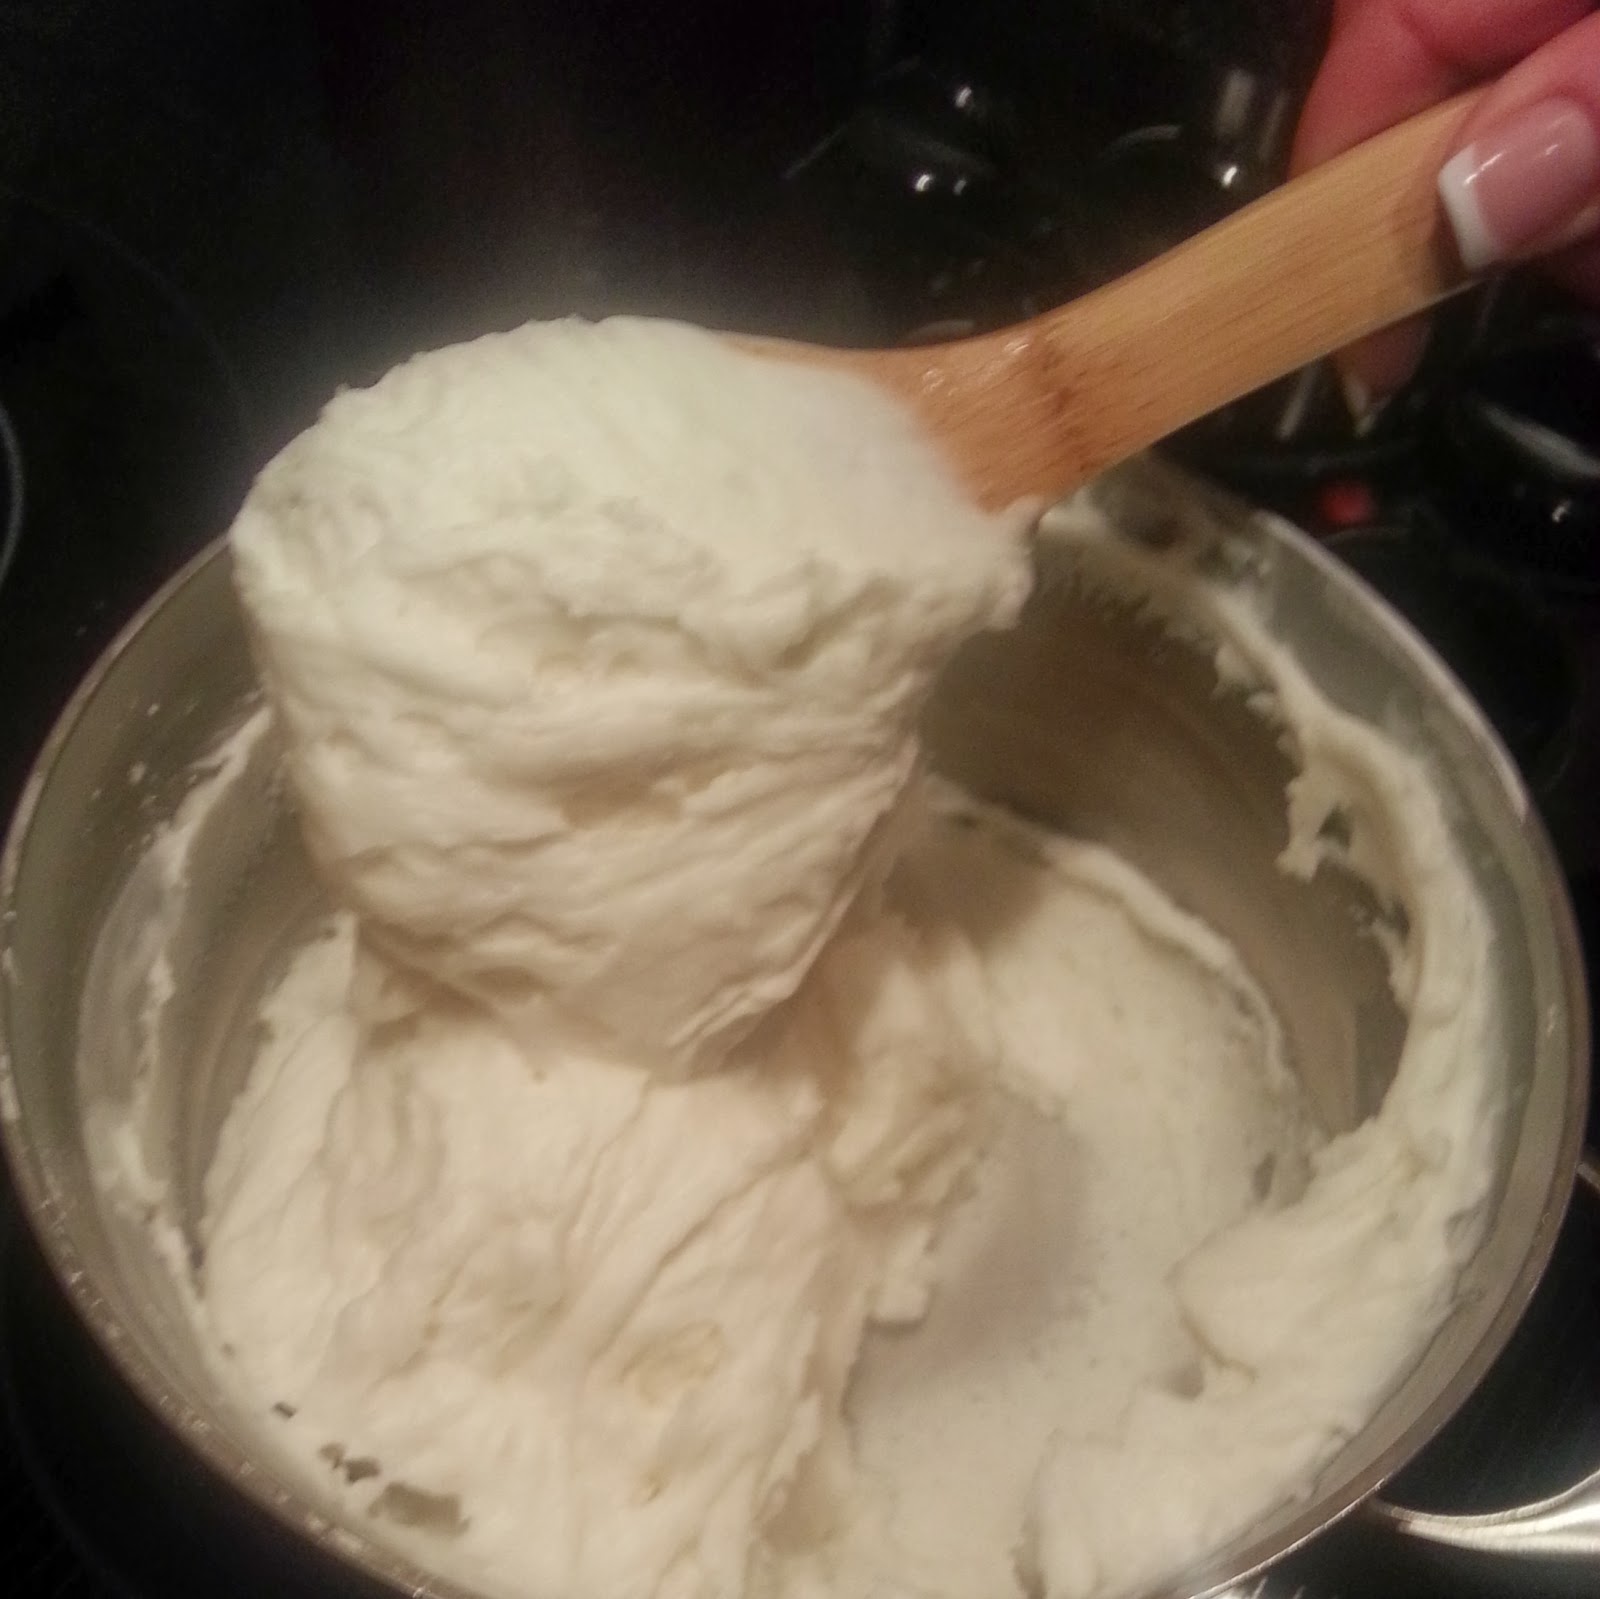
things will happen quickly!  Continue to
stir ~ suddenly the mixture will
resemble mashed potatoes.


As soon as the mixture looks like mashed
potatoes, immediately dump onto
a cookie sheet and cover with a damp
towel.  Allow mixture to cool.


Spread work surface with a light
dusting of cornstarch.

Divide dough in half, keeping the
unused half under the damp towel to
preserve the texture.
(It dries out fairly quickly).


Use cookie cutters or small knife to cut shapes.


Don't forget to poke holes for hanging!
I used a straw.
You could also use rubber stamps
to make impressions on the soft dough.
Love the idea, but we were iced
in and unable to even leave the driveway
and my stamp collection resides
down the street and across the way in my
studio.  Which might as well be in
Siberia since I can't leave my house.


Shapes will air dry, but you can speed
the drying process along by placing
them in a preheated 250 degree oven.
After 15 minutes, turn the shapes and
continue to dry, or bake another 15 minutes.

Allow to cool before painting
and adding ribbon for hanging.


~ Peace and Productive Snow Days ~


Saturday, February 9, 2013

DCC Blog Hop - Handmade With Love!

~ Welcome to the February DCC Blog Hop ~
Handmade with Love!!


First of all I might as well admit
that for the past two days I've been in a frenzy
because in addition to the usual

(including but not limited to basketball, dance rehearsals, 
injuries,  cooking, cleaning, cooking, cleaning,
~ yes, I used those each twice, when frankly
using the word cooking four times per
day and the word cleaning endless times per
day would be a much more accurate
portrayal of what goes on up in here ~
supply organizing, costume making, prop
painting, driving, um ... 
did I already say cleaning??)

I've thought that I had a button project
due today. 

Turns out, now that I've finished the
button project and I'm editing photos for
the button project and I'm looking
for all the information I have to include about
the button project,
I realize that the button project isn't
due until MARCH.

So it's a good thing I have another
post ready for today.

Doc brought home a recipe the other day.
It was hand-written, from someone
at the office, and there
was no recipe title or name.
I have made this mystery recipe
seven times in seven days.

I have adjusted the amounts of
ingredients to suit
the boys' tastes.  And mine.
I might as well admit I've put on four
pounds and it's pretty clear
that this pan of deliciousness is to blame.


*Heat oven to 350 degrees.
 *Line a jelly roll pan with heavy duty
aluminum foil.
Trust me ... if you use the regular
strength foil, the caramel coated goodness
will stick to the foil and you will
have to pick and peel tiny slivers of
foil out of your snack before
you eat it.  This may or may not make
you cry, but why take that chance??

Ingredients:
Graham Crackers
2 Sticks Unsalted Butter
1 Heaping Cup Brown Sugar
1/2 Teaspoon Vanilla Extract
1 Heaping Cup Chopped Pecans


*Melt butter in saucepan on low heat.
Add brown sugar.
Bring to a boil, stirring constantly, and
boil for 2 minutes.


Don't be discouraged when it looks like this.
Keep on stirring, and eventually
you'll get this: (which is what you want!)


Remove from heat.
*Add vanilla.
*Add the nuts.
~Since I store my nuts in the freezer
to keep them fresh,
I add the nuts and then put the pan
back on the heat and stir
for another 2 minutes.

It's going to be thick, not runny,
but adding cold nuts without putting the
mixture back on the heat just
cools the mixture and makes it really
super hard to spread.


Pour the mixture over the grahams
and spread as well as you can.
It probably won't cover the grahams
completely, but we will fix that.

Bake for five minutes,
then open the oven and use your
wooden spatula to spread the bubbly
mixture thoroughly over all the grahams.
It's MUCH easier to spread
at this point!
Bake another five minutes,
remove from oven and cool for one hour
before breaking apart and
eating the entire pan yourself.

Just kidding.
Sort of.


My boys just LOVE this tasty snack!

~ Peace Out ~

Wednesday, January 30, 2013

Chicken Tetrazzini

~ CHICKEN TETRAZZINI ~


This is another family favorite ~
I can't believe I haven't blogged about this
recipe yet, I've probably
made this two dozen times!

~ First of all, I like to douse some frozen
boneless chicken breasts with olive oil and a
pinch of salt.  Thaw them in the refrigerator, and 
then bake them on a foil-lined
jelly roll pan in a 350* oven for twenty minutes.~


Once the chicken has cooled, I either
shred it or cut it into tiny cubes to use in other
recipes.  You'll need 2 cups of cooked
cubed chicken for the Tetrazzini.

 
Here's what else you'll need:

1 package spaghetti, broken into thirds
1/4 Cup Butter
1/4 Cup Flour
1/2 Teaspoon Salt
1/4 Teaspoon Pepper
1 Cup Chicken Broth
1 Cup Heavy Whipping Cream
2 Tablespoons Water
2 Cups Cooked Cubed Chicken
1 Can (4 oz) Mushrooms
Sliced Black Olives (optional)
1/2 Cup Shredded Parmesan Cheese

Heat oven to 350*.  Cook spaghetti as directed
on package.  While spaghetti is cooking,
melt butter in a 2-quart saucepan over low heat.


 Add flour, salt, and pepper.


Cook, stirring constantly, until mixture is
smooth and bubbly.  Remove from heat.

 
Stir in broth and whipping cream.

 
Heat to boiling, stirring constantly.
Boil and stir one minute.

 
Drain spaghetti.
 Stir chicken and mushrooms
into sauce.  

 
Add cooked spaghetti to sauce
and stir thoroughly.

 
Pour mixture into a 2-quart casserole dish
coated with cooking spray.

 
Sprinkle with shredded parmesan.
Add sliced olives, if desired.

I can only add olives to half of my
Tetrazzini ... but some day, when my boys
are no longer picky eaters, I will
smother my Tetrazzini with sliced olives!
Just sayin'

 
 Cover casserole with tin foil and
bake for 25 minutes.
 Remove foil.

 
Turn on broiler until cheese has
crisped and turned brown.

Add a garden salad and buttery
toasted bread for a complete meal!

 
Yummers!!


~ Peace and Sliced Black Olives ~

Thursday, June 21, 2012

Lemon Bars - Updated Ingredients, LOL!!

Lemon Bars!!


So delicious, I've made three batches
of these in three days.


That means my kiddos are eating one
batch of lemon bars per day.
(Doc and I are eating our share, too!)


Oh, but they are sooo yummy!


Preheat oven to 350°.
 For the crust, you'll need 3/4 C of butter
(room temp), 


 1 1/2 C flour,


 and 2/3 C powdered sugar.


 Cut together and press into a greased
9"x11" glass pan.


Bake for 20 minutes.


Remove from oven.
While crust is still hot, mix the filling.


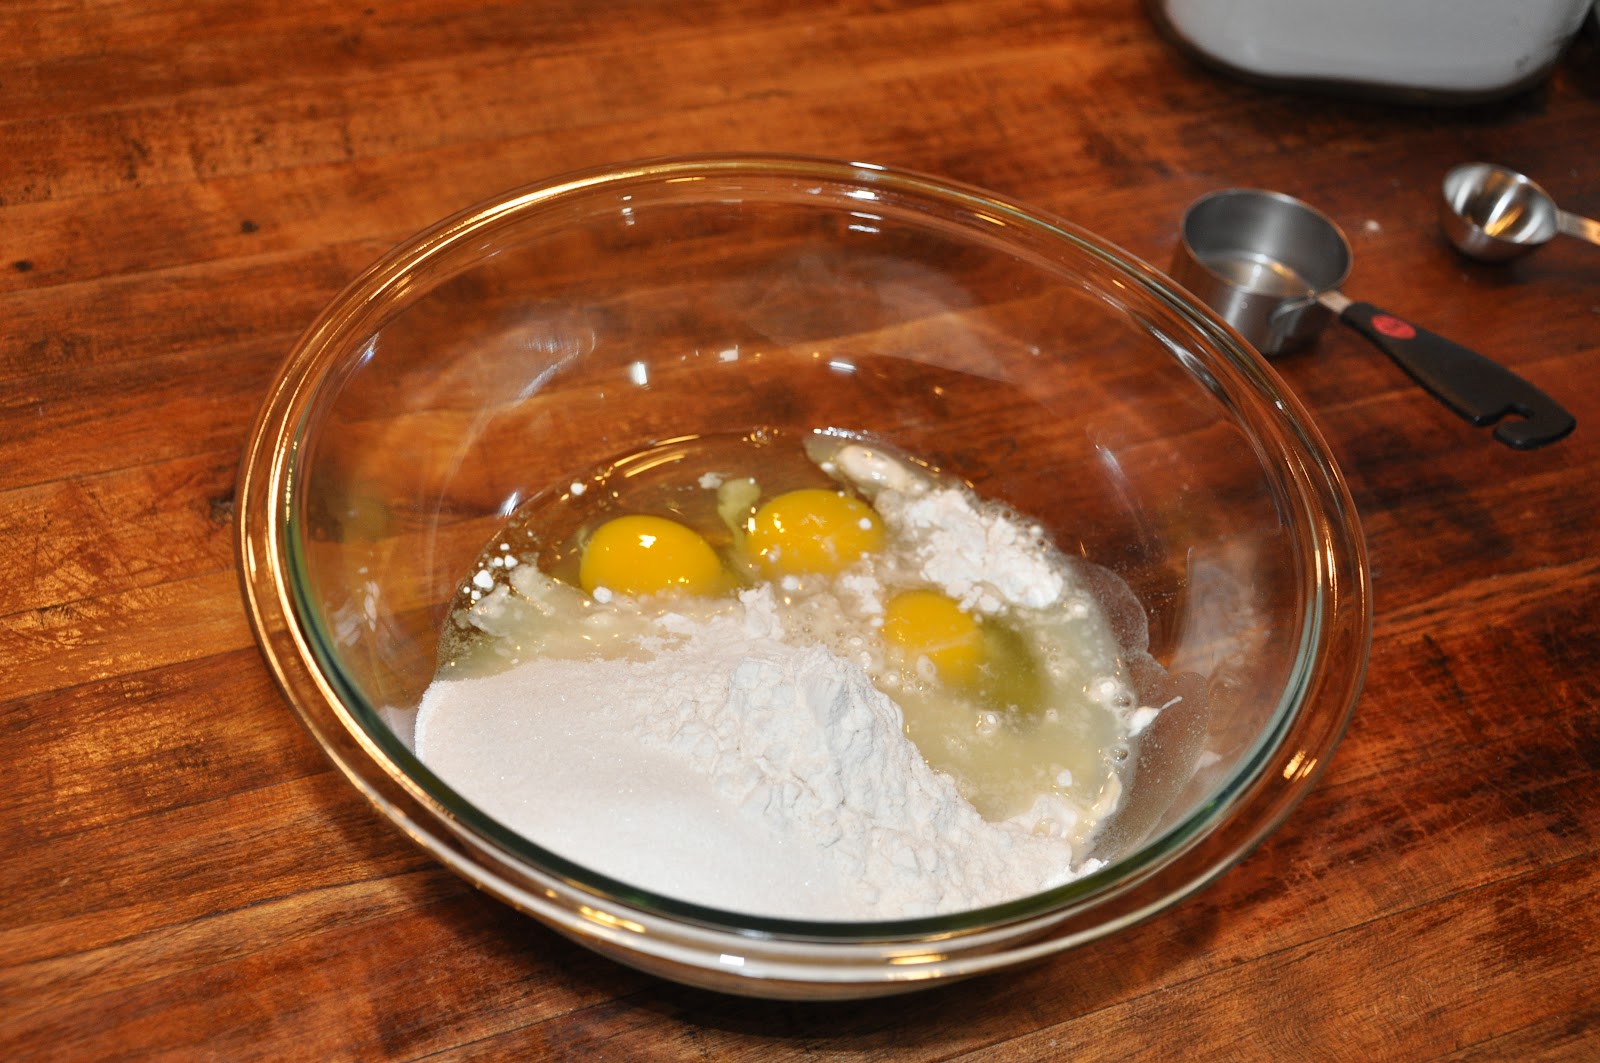
To make the filling, you'll need 3 eggs,


1 1/2 C granulated sugar,


3 T flour, and 1/4 C Lemon Juice!!
Whisk together until frothy.


Pour over hot crust.


 Bake another 20 minutes.


Immediately sprinkle powdered sugar over the top.
 Here's the hard part:
Allow to Cool at least 1 Hour Before Eating.


My kids always set the timer,
so that they are enjoying Lemon Bars
precisely one hour after I pull them from the oven.


I think they've shown unusual self-control
for this batch.  Only a few hours
old, and I've had at least three bars myself!!


Peace and Lemony Deliciousness!!!