Showing posts with label Ruler Crafts. Show all posts

Sunday, August 5, 2012

DCC Blog Hop - AUGUST

Welcome to the Designer Connection
BLOG HOP for August!!


This month's theme is ... ScHoOl SuPpLiEs!!!


Oh, I am certain that under different circumstances
I could have been incredibly genius with my
design ideas for School Supplies,
but considering all that's going on in my life,
I'm secretly happy that I could incorporate two crafts
that I was working on for the kids into my
August post!!!

Okay, maybe it's not so secret.

First of all ... I LOVE shopping for school supplies!
Seriously, just the smell of crayons, pencils,
and fresh paper makes my endorphins do curly cues.
I. Am. In. Love.

So ... I shop early.  That way,
I have the longest possible time to spend
shuffling, separating, and organizing all the wonderful
school supplies; and, there's a twist!

I like to personalize my kids' stuff.

I've painted folders, notebooks, scissors ...
you name it, I've either painted it or personalized it
in some creatively crafty manner.

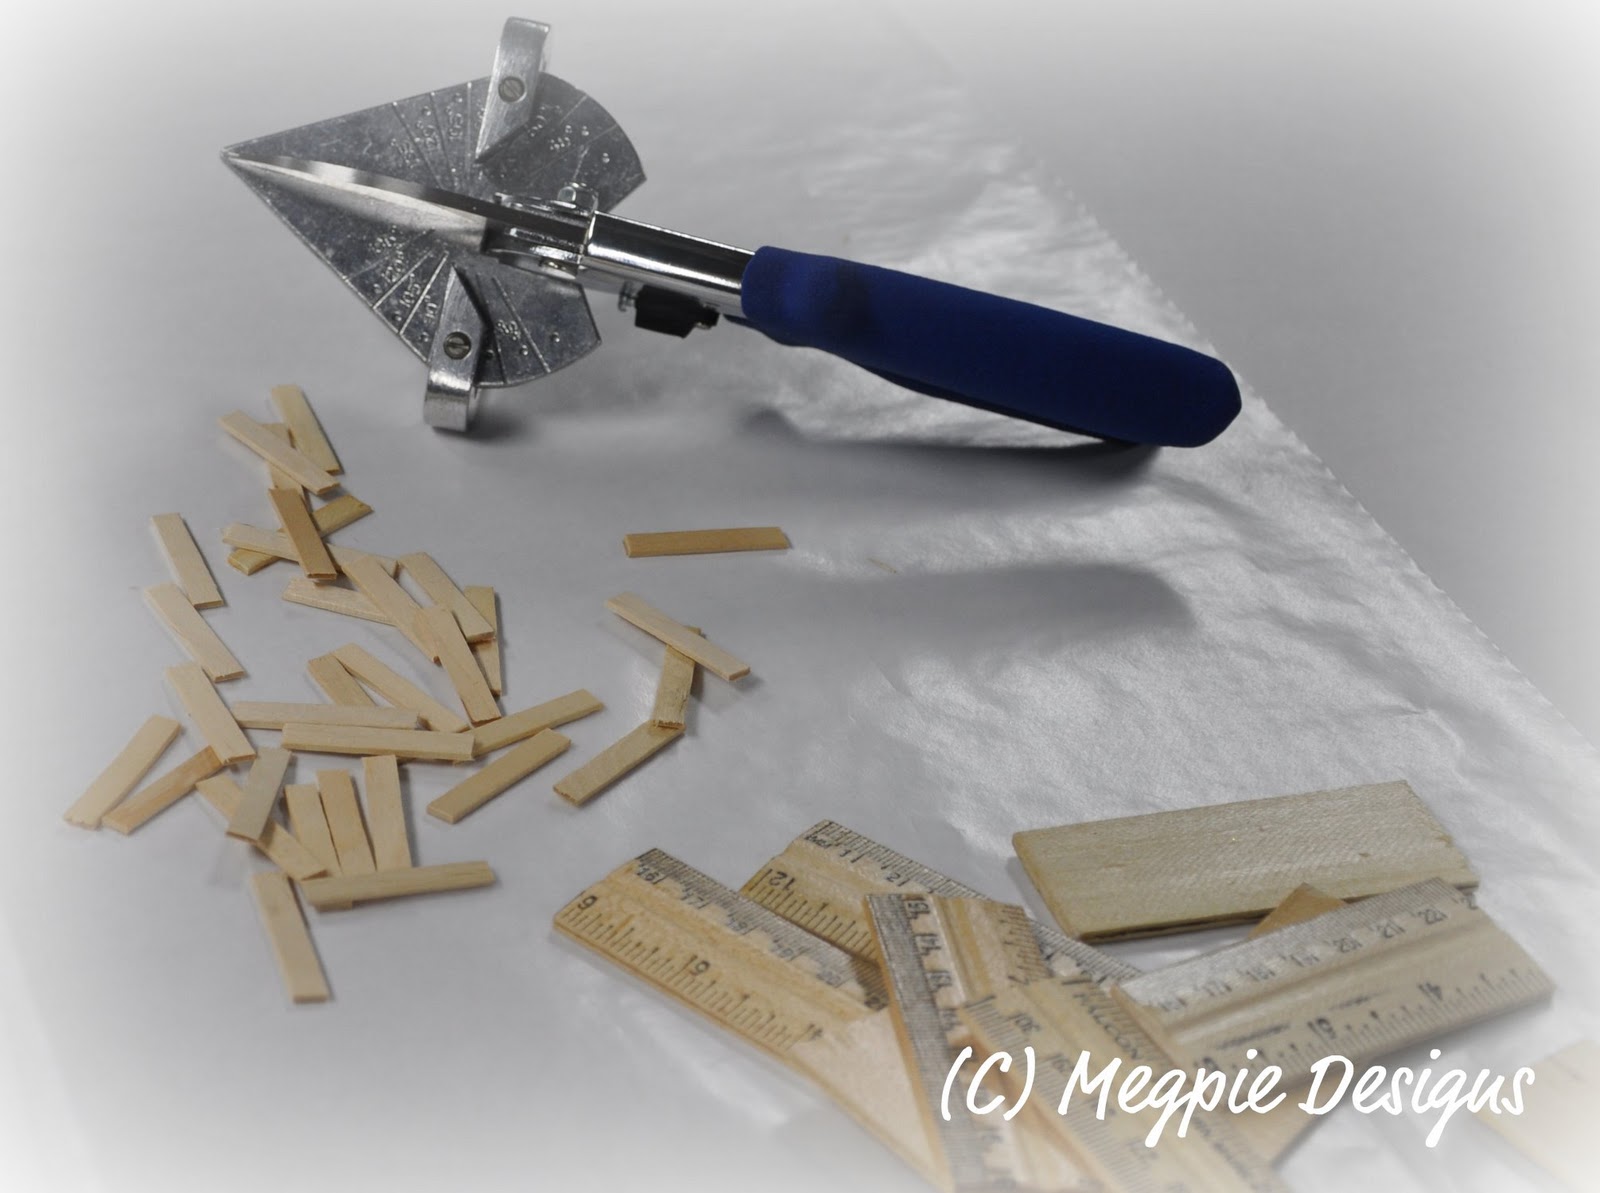
This year, I've been working on rulers.
Because I love rulers.  And paint sticks.
I especially love painting on paint sticks,
but no one had those on their back-to-school
list this year.  Weird.

So, it was rulers.
I have a second grader, a fourth grader,
a sixth grader, and an eighth grader this year.
EVERYONE needed a ruler.
But, oddly, only one person needed a
three-ring binder.

(Hey - they make those with clear sleeves
now, which makes it super simple to personalize!!
So I'll show you what I've done with that, too).


 Ahh ... the ruler.
So simple ... yet, so inviting!!!
I mean,
who doesn't want to just, PAINT one of these??


Anyway.
I used a sanding block to lightly sand
the clear varnish off the back.
(I left the front side alone ...
they need to USE this ruler!!!)

Then I painted it RED!
Because that's our school color.
 I also painted one cream.
(I'm going to have two ruler designs here).


For the red ruler, I divided it into sections
and marked them lightly with a pencil.


I gave each "section" a yellow
triangle beak, and six yellow claws.


 I shaded around each beak
and underneath each claw with
thinned chocolate brown paint.
Then I dipped a stylus into black paint
and dotted two eyes above
each triangle-shaped beak.


To finish the "mascot totem" I used
the stylus to dot smaller white
dots on the eyes,
and once the paint was completely dry,
I brushed a clear sealer over the ruler.

Mascot Totem.
I like that term!!  Wonder if
it'll catch on??


Now, back to the cream colored ruler:


I used my 1/4" flat brush and red paint
to "write" the name on the ruler.
Then, I used a liner brush
and thinned chocolate brown paint
to shade the left and lower sides
of each letter.


I used a darker shade of red
to shade the bottom half of each letter.
Once the paint dried completely,
I used my sanding block to lightly remove
some of the paint.


I used a liner brush and thinned black
paint to outline each letter.


Then I used white acrylic paint to
accent the right side of each letter.


After the paint dried completely,
I brushed a clear acrylic sealer over
the back of the ruler.

Repeat: three times!!


Now my second idea was to personalize
the three-ring binder for Ayden.


First, I chose a black binder,
because the school colors are red and black,
and I was painting the cardinal red.


I used a sheet of acrylic paper and
acrylic craft paints for this idea.
Acrylic paper is a heavier stock, and
has a delicious texture to it.
It is perfect for watercolor and acrylic.


After transferring my cardinal pattern
to the center of the acrylic paper,
and adding his name across the bottom,
I painted the main colors.

I used red for the cardinal and the
letters in his name, and I painted the
beak with a dark shade of yellow.


I used a darker shade of red
on the bottom half of each letter,
to add a little character.


I used the darker red to shade the
cardinal, as well.
Then I used the white paint to base coat
 the "teeth" and the eye, and
to give each letter a thin highlight line.


I thinned black paint to ink-like consistency,
and used a liner brush to outline
each letter, as well as the cardinal and his
features.


If you're not comfortable using
the liner brush to outline your design,
you could seal your painting first with a
clear acrylic sealer, and then use a permanent
black marker to outline your design. 


I shaded around the mascot with
a honey brown acrylic paint.


Here's my KEEPIN' IT REAL pic ...
I messed up on the "D" in Ayden.
See how the black line on the curve of the "D"
is ... sloppy??


A little white acrylic paint fixed that.


Here is the final design!
Just needed to slip it into the binder ...


Ta Dah!!!
Bet he's the only second grader
with a binder like this one!!


Peace and Back-to-School Supplies!!!

Tuesday, December 20, 2011

School Room Snowmen

This year, I had 70 ornaments to make
for the classmates of my children.


Since my 11-year-old had already
specifically requested a particular ornament,
which would be difficult and time-consuming
to make for his 14 classmates,
I knew I had to find something super
quick and easy to make for the remaining
56 children in my other kids' classes.

I decided to make
School Room Snowmen!!

(or Ruler Snowmen)
whichever of those names you prefer


For every FOUR ornaments, you will
need one wooden ruler 
(look for a ruler without pre-drilled holes)
acrylic paint in white, black, red, and gold.
Extreme Glitter in Black,
and Plaid Dimensional Paint in orange.


Also, mini craft sticks for hat brims,
wooden birds for the school mascot,
red ribbons for hanging and
a permanent black marker for outlining.


Use the Midwest Products Easy Cutter Ultimate
to trim each ruler into four 3" lengths,
and trim the mini craft sticks to just a hair
wider than the ruler, so the hat
brim hangs over just a bit on either side
of the snowman's head.


Use Aleene's® Tacky Glue®
to adhere hat brims to each ruler segment.

I attached my hat brims
towards the top of the segments,
rather than directly in the center.
However, I've made many of these types
of ornaments, and attaching the brim
a little lower makes for a totally different look:
a really tall hat and a small face,
versus the small top hat and the larger face.
I wanted to date these ornaments,
so I made the hats smaller.


Paint the craft stick and the
top half of the ruler segments with
black acrylic paint.
Brush Plaid's Extreme Glitter Black
over the hats for extra shine.


Paint the bottoms of the ruler segments
with white acrylic paint.
Leave the backs unpainted;
to keep the "School Room" feel of
these ruler ornaments.


I use a cotton swab and pink
powder blush to blush the cheeks of
each snowman's face.


Use a stylus dipped in black paint
to dot the eyes and the mouths.

Dip the stylus before each dot
for same-sized dots ...
dotting two or three times before
re-dipping into the paint
gives you descending-sized dots.

I used my Crop-o-Dile to
make a hole in the top center of
each snowman's hat,
so I could thread some ribbon
through for hanging.


NOTE:
For step-by-step photos
of how to paint dots and carrot
noses, please click here.


Because I am making these ornaments
for the classmates of my children,
I want to add our school mascot,
the cardinal.


Here is a quick tip I found for painting
small wooden pieces, such as these 
bird cut-outs:

Spread out a piece of GLAD®
Press'n Seal® sealing wrap,
sticky side up,
and press the birds onto the paper.
This holds them in place while
you use a paint roller dipped in red
acrylic paint to base coat the birds
quickly and easily.


A quick way to make the triangle
shape on the cardinal's head,
is to use a small flat brush dipped
in black paint; lightly press the brush
diagonally across the bird's head.
Ta Daa!!!


Allow to dry before dotting the
eyes first with white paint,
and then with black paint.
Brush on a coat of Plaid Extreme Glitter
in Red for extra shine.

Use a detail brush dipped in
gold or yellow paint to highlight the
bird's beaks.


I threaded the ribbon through
each hole in the hat before I attached
the birds ... I thought it was
easier than waiting to thread the ribbons
and possibly running into a hat
whose hole was covered by a bird.
;)


There we go!
56 School Room Ornaments!!
As a final touch,
I used a black permanent marker
to outline the snowman faces,
define each bird's wing,
and add the year to the bottom.


* Peace and Snowmen *

Friday, November 4, 2011

FOUR - Reindeer Rule!!!

Fourth in a series of FIVE
Bazaar-Worthy Craft Tutorials
Reindeer Rule


I love to recycle things by painting them
and giving them new purpose.
These rulers can be almost anything!


I've made scarecrows, pumpkins,
Uncle Sam, Santa, elves, snowmen, toy soldiers,
reindeer, gingerbread men, angels, wise men ...


Then once you've got some painted
rulers on hand, they give a gift bucket some
height, or make an adorable plant poke
for a mum or a poinsettia -


I've even given them wire hangers
and stuck them into my Christmas tree
as over-sized ornaments.


You can do almost anything, I tell you!!
Well.  I wouldn't use them as a back scrubber in
the shower ... but I might use them to
scratch that itchy part I can't reach right between
my shoulder blades ...


So, you see?  They're multi-purpose.


My sister found these rulers online
when she was shopping for decorations for
a school fundraiser.


I expressed excitement when I saw
them in a shipping envelope on the floor of
her study.  She gave them to me.
I love her.


They needed a little work ...
the metal edges were loosened and bent,
so I had to remove them with pliers.


And, the backs were varnished and slick,
so I used my sanding block to rough them up and
give them a little "tooth" so the paint
would have something to adhere to.


The Basics:

wooden ruler(s), 1/2" wood button plug,
two cacti wood cutouts,
sanding block, acrylic paint:
chocolate brown, white, black, red
spray paint: textured brown
Plaid Extreme Glitter: red
stylus for dotting eyes,
appropriate sized paintbrushes
(1" wash or sponge roller for rulers,
1/2" wash for noses, liner brush for mouths)
glue gun and glue sticks,
8" length of ribbon for scarf

Getting Started:


Base coat the rulers with two coats
of chocolate brown acrylic paint.


I like to use a sponge roller to apply the
base coat when I'm painting multiples.
It makes the job go much smoother and quicker.


I thought it would be fun to give the
antlers a little texture - so
I sprayed them with Rust-oleum
textured spray paint.


Paint the button plugs red,
and add a thick coat of Extreme Glitter.


Since the brown base coat is so dark,
I needed the eyes to "pop" -
so I used a paintbrush handle to dot
the eyes with white.


Once the larger white dots have dried completely,
use a stylus to dot the centers of the
eyes with black.


Use the glue gun to attach the nose
and the cacti for the antlers;
then use the liner brush and apply the mouth
with thinned white paint.


To finish, tie the ribbon around the
reindeer's neck.


Reindeer Rule!!!


* Peace and Old Rulers *