Showing posts with label Christmas. Show all posts

Tuesday, January 7, 2014

Simple Snowman Gift Tags

Christmas has come and gone for 2013,
but we are still snowed in!
I made a super simple gift tag, and
it turned out so cute, I made dozens more
and thought I'd share:


Supplies:
Kraft cardstock and XL punch
1" sponge dauber
Acrylic paint: white, black
Dimensional paint: orange
Pink Powder Blush and cotton swab


 Punch out your tags ...
Dip your sponge dauber into white paint
and pounce ... either in the center,
or over to the side (I wasn't sure whether
I might want to add a name or a message, so
I pounced on the far side of the tag!)


Dip a stylus into black paint
to add the eyes.


 Use the cotton swab to
apply blushed cheeks to each
snowman head.


Add the carrot nose with the
orange dimensional paint.
To see a tutorial on how to make
these dimensional noses,
as well as the dots ...
click here.


Use the stylus dipped in black paint
to add the mouth.  Dipping the stylus before
each dot will give you same-sized dots.
To get dots decreasing in size,
dip once and dot two or three times
before redipping.  Experiment
on scratch paper first so you'll be happy
with your little black dots!


~ Peace and Happy Snowman Tags ~

Wednesday, December 11, 2013

Mini Canvas Ornament

Wordless Wednesday


~ Peace Out ~

Clay Dough Ornaments

Bright, White Clay Dough


While I can always use the salt scrub effect
on my dry, papery man-hands ~
(you know, rinsing my paintbrush after every
color change really does a number
on my skin!)
~ I've made the salt dough ornaments.

You know, the classic 
"been there, done that"
so when I found a recipe for smooth, bright
white ornaments ... I had to try it!


Here's the recipe:

2 Cups Baking Soda
1 Cup Cornstarch
1 1/4 Cups Water 

 
 Stir ingredients together in a 2 quart saucepan.


Bring to a boil over medium-high heat,
stirring constantly with a wooden spoon.


Continue to stir until mixture is boiling.


Once the mixture starts to boil,
things will happen quickly!  Continue to
stir ~ suddenly the mixture will
resemble mashed potatoes.


As soon as the mixture looks like mashed
potatoes, immediately dump onto
a cookie sheet and cover with a damp
towel.  Allow mixture to cool.


Spread work surface with a light
dusting of cornstarch.

Divide dough in half, keeping the
unused half under the damp towel to
preserve the texture.
(It dries out fairly quickly).


Use cookie cutters or small knife to cut shapes.


Don't forget to poke holes for hanging!
I used a straw.
You could also use rubber stamps
to make impressions on the soft dough.
Love the idea, but we were iced
in and unable to even leave the driveway
and my stamp collection resides
down the street and across the way in my
studio.  Which might as well be in
Siberia since I can't leave my house.


Shapes will air dry, but you can speed
the drying process along by placing
them in a preheated 250 degree oven.
After 15 minutes, turn the shapes and
continue to dry, or bake another 15 minutes.

Allow to cool before painting
and adding ribbon for hanging.


~ Peace and Productive Snow Days ~


Thursday, October 3, 2013

Rustic Wreath


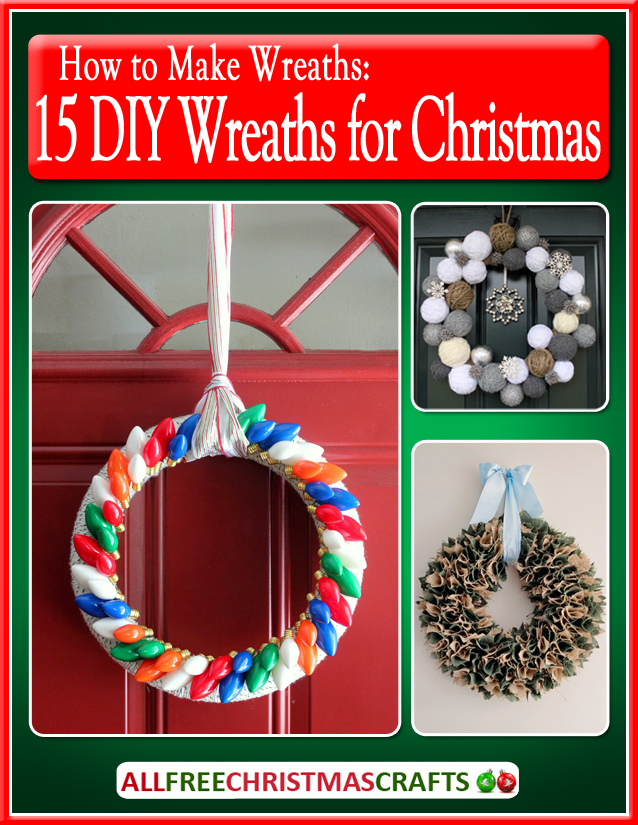
All Free Christmas Crafts
has a new Wreath eBook!

Free Wreath eBook!


Just click here to download your copy.

Here's a repost of my featured
Rustic Cardinal Wreath:
Thanksgiving is at my house (again) this year ...
I've made all my guests a family initial
cardinal wreath.
(I'm also making these for teacher's gifts!)

So simple ... here's what I did:


Supplies:
10" Grapevine Wreath, 4" Gold Initial, Bird's Nest Pick,
Floral Pick (evergreen, pine cones, berries),
Cardinal with alligator clip,
20 gauge crafting wire, wire snips
needle nose pliers (to help with tightening wire)
hot glue gun


First, cut a 12" length of craft wire
and wrap it two or three times around the initial.


Attach it to the side of the wreath.
You may have to turn the wreath a few times
to determine the best place for the 
initial.  The thinnest spot works best.


Turn the wreath over and twist the wire ends
together to secure the initial.


Poke the bird's nest pick into the wreath near
the top of the initial.
Poke the sprigs into the wreath.
Secure with crafting wire and/or hot glue.


Clip the cardinal near his nest ... and there it is!


Quick and easy!  A nice take-home favor
on Thanksgiving Day.

~ Peace!!! ~

Thursday, January 24, 2013

Ladybug Reindeer

What do you get when you
cross a ladybug with two cacti?


A reindeer, of course!
Well, a reindeer made from
pre-cut wooden shapes, anyway.
;)


For this reindeer ornament,
you'll need (1) 2" ladybug shape,
(2) 1.25" cacti shapes,
(1) 4" length of ribbon,
acrylic paints in Honey Brown,
Chocolate, Tuscan Red, Black, White,
One Step Crackle,
Gel Stain, a Multi-Purpose Sealer,
and Extreme Glitter Hologram.
(or Extreme Glitter Red, but I was out).


Paint the following:
Cacti - Honey Brown
Ladybug Body - Chocolate
Ladybug Head - Tuscan Red

Brush a generous coat of
One Step Crackle onto the cacti
and allow to dry thoroughly.
Apply Gel Stain and wipe off with
a clean, dry rag.
The gel stain works its way into
the tiny little cracks made
by the One Step Crackle ...


See the tiny crackles??
I Love it!!

Apply Extreme Glitter Hologram
generously over the Reindeer nose.
(Previously referred to as the "Ladybug Head")


Next, cross ribbon ends to form
a loop for hanging.


Attach the ribbon to the back
of the reindeer head with
a hot glue gun:


Attach the two cacti to the
back of the reindeer head;
it's fine if the cacti overlap the
ribbon, that will help keep it in place.


I dipped a paintbrush handle into
white paint to dot the eyes.
Once it was completely dry, I
added black dots to the eyes.


I brushed Multi-Purpose Sealer
over the entire piece.

NOTE: I almost always paint the backs
of my ornaments, but since I was
going to use hot glue to attach the antlers,
I wanted a good adhesion so I
left the back of this ornament unpainted.
Just keepin it real.
Sometimes those boogers fall off,
and we don't want any of that going on,
am I right??

Up next: I have eighty ornaments
to make for classrooms this year.

(that's an 8 and a 0
it's also 10 times 8, or
8 times 10, or 20 times 4, or
4 kids times 20 students per
classroom.  And, I should probably do
a recount before I get started.
Cuz I'm pretty sure I heard about
new students somewhere).

What kind of ornament do I want to
make in bulk?  I want the ornament to
be special for the kids, something to bring back
(hopefully!) fond memories of elementary school.
So I'll use the school name and/or
their mascot somehow ... but, hmm ...

 Here's my 2010 design:


 Here's my design from last year:


Oh, wait! Do you hear that?
Yeah, that's Hobby Lobby calling my
name.  I'm going to have to make a trip.
No, wait.  That's my studio calling
reminding me that I have enough supplies
to make ornaments for the entire town
and I shouldn't be buying more "stuff".

Christmas Inspiration, HERE I COME!!
And I think I might just challenge myself
to make all these ornaments
with supplies I already own.
What d'ya think of that??
  

~ Peace and Lots of Christmas Ornaments ~