Showing posts with label Crafts. Show all posts

Tuesday, January 7, 2014

Simple Snowman Gift Tags

Christmas has come and gone for 2013,
but we are still snowed in!
I made a super simple gift tag, and
it turned out so cute, I made dozens more
and thought I'd share:


Supplies:
Kraft cardstock and XL punch
1" sponge dauber
Acrylic paint: white, black
Dimensional paint: orange
Pink Powder Blush and cotton swab


 Punch out your tags ...
Dip your sponge dauber into white paint
and pounce ... either in the center,
or over to the side (I wasn't sure whether
I might want to add a name or a message, so
I pounced on the far side of the tag!)


Dip a stylus into black paint
to add the eyes.


 Use the cotton swab to
apply blushed cheeks to each
snowman head.


Add the carrot nose with the
orange dimensional paint.
To see a tutorial on how to make
these dimensional noses,
as well as the dots ...
click here.


Use the stylus dipped in black paint
to add the mouth.  Dipping the stylus before
each dot will give you same-sized dots.
To get dots decreasing in size,
dip once and dot two or three times
before redipping.  Experiment
on scratch paper first so you'll be happy
with your little black dots!


~ Peace and Happy Snowman Tags ~

Monday, October 28, 2013

Witchy Plant Poke - Great Last Minute Gift Idea!

Here's an easy~peasy Fall project
to make and give as gifts.
 In fact, I made a dozen!  True story.


So you start with a wood shim:

 ... or ten ... or twelve ...

Acrylic Paints: Green, Black, White,
Multi-Purpose Sealer
Glittery Spider brad, HALLOWEEN brad,
(these are brads I bought a few years ago~
I just placed a new order from
Oriental Trading Company for lots of
new Halloween brads ... can't wait!!)


The shims are usually pretty rough
and sometimes have splintery edges.
I used a sanding block
to smooth them down, and then
sealed the fronts with
Multi-Purpose Sealer.


Since I was making twelve of these,
I decided to cut a "face" shape
from a soda box.  Straight across the top
(where I'll put the hat brim)
and a "pointy" chin.
I used a 4" paint roller to apply
black paint to the fronts
of the shims.


I used a 1" flat brush to apply green
paint to the faces...


... all twelve of them!!
Once the paint is dry, sand lightly
with a sanding block.
Paint raises the grain in the wood,
so sanding lightly gives you
a smoother surface to paint on.


I trimmed the rounded ends off
of skinny craft sticks
to make hat brims.  Paint with
black paint, sand lightly.


Apply wood stain to the front,


sides,


and back of the shim.
I use an oil based stain, so I
wear protective gloves and allow
the pieces to dry overnight.


I used Tacky Glue to attach 1/2"
button plugs to the witch faces.

This photo shows me attaching 1/4"
button plugs as noses.
I waited until I'd glued on all twelve
plugs and the glue was
completely dry before changing
my mind.  I decided to use the 1/4"
plugs as warts, instead.


So, to recap, 1/2" plugs as noses,
1/4" plugs as warts, and
glue on the skinny sticks as hat brims.

The eyes are dip dots of black.
(I used a stylus, but you could use
a paintbrush handle if you
have one small enough).


I used a liner brush and thinned
black paint to apply a quirky mouth.


I used a liner brush and thinned
white paint to apply a spider web to
the witch's hat.


I added some black dots to the
nose and the wart; and
two crooked teeth to the quirky mouth.

I used my trusty rusty pliers
to snip the brad off the spider brad:


Then I used hot glue to attach the
now-bradless-spider to the hat.


I made the HALLOWEEN brad
bradless, too:


Snip! Snip!!


 Attach the bradless brad with hot glue.

Two years ago I bought each
teacher a potted mum,
and I poked in a Witch, a
Frankenmonster, and a Mummy.

They looked kinda (exactly) like this:


Here's this year's Witchy Plant Poke:


 Maybe Frankenmonster and the
Mummy need an update, too?  Always
nice to change your look
every once in a while.  I'll just
add those to my ever-growing To-Do List.

~ Peace and Happy Halloween Characters ~

Thursday, October 3, 2013

Rustic Wreath


All Free Christmas Crafts
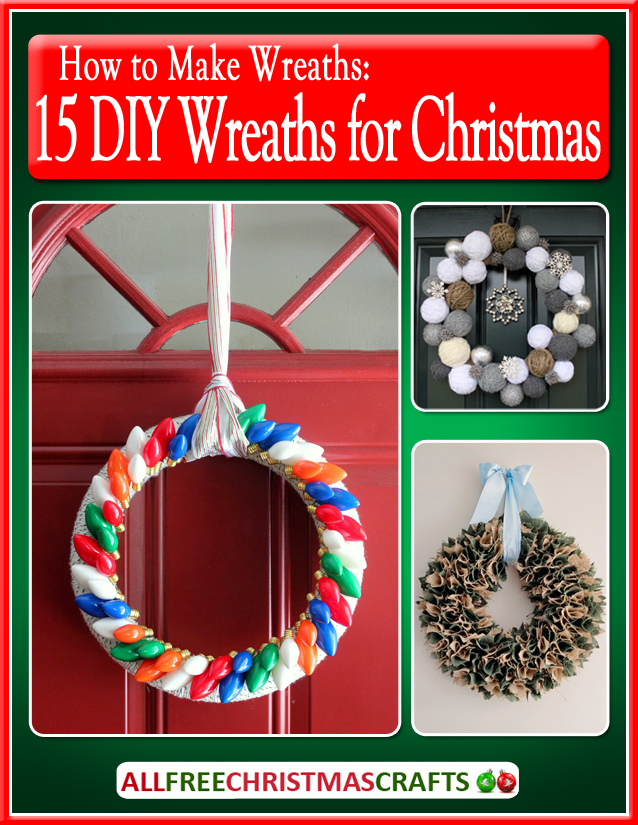
has a new Wreath eBook!

Free Wreath eBook!


Just click here to download your copy.

Here's a repost of my featured
Rustic Cardinal Wreath:
Thanksgiving is at my house (again) this year ...
I've made all my guests a family initial
cardinal wreath.
(I'm also making these for teacher's gifts!)

So simple ... here's what I did:


Supplies:
10" Grapevine Wreath, 4" Gold Initial, Bird's Nest Pick,
Floral Pick (evergreen, pine cones, berries),
Cardinal with alligator clip,
20 gauge crafting wire, wire snips
needle nose pliers (to help with tightening wire)
hot glue gun


First, cut a 12" length of craft wire
and wrap it two or three times around the initial.


Attach it to the side of the wreath.
You may have to turn the wreath a few times
to determine the best place for the 
initial.  The thinnest spot works best.


Turn the wreath over and twist the wire ends
together to secure the initial.


Poke the bird's nest pick into the wreath near
the top of the initial.
Poke the sprigs into the wreath.
Secure with crafting wire and/or hot glue.


Clip the cardinal near his nest ... and there it is!


Quick and easy!  A nice take-home favor
on Thanksgiving Day.

~ Peace!!! ~