Showing posts with label Fabric Crafts. Show all posts

Tuesday, October 29, 2013

Easy Halloween Tees!

~ EASY HALLOWEEN TEE SHIRTS! ~


It's been WaY too long since I last blogged,
no excuses, just one or three major life events
may or may not have occurred in quick succession
(and some concurrently);
but here I am, and I'm sharing something
that is SO typically ME!

That is, I've been agitated lately that I'm
so busy driving and cooking and cleaning and
scheduling and checking and packing
and loading and unloading and moving and
sleeping and unboxing and tidying
that I have no time for crafting!
Then as I drop the boys off at the gym
at 0700 this morning, I'm thinking
"oh my gosh, it's Halloween in two days
and I should really made the kids
a tee shirt to wear on Thursday!"
What?  Who said that?
The same person who hasn't had time to
do anything in four months and now
suddenly you want to start a complete
project and have it finished today?
Yes.  I work well under pressure.

I haven't done much sewing this year,
and it's been over ten years since I added
to my fabric stash, so I just started over.


I live fifty miles from the nearest craft store
so I was stuck with Wal-mart's scaled
down version of a craft aisle.  Seriously,
there aren't even bolts of fabric or buttons
at this Wal-mart.  Ugh.  So my selection was
beyond limited.

 I (finally) found a tee shirt for my Little girl -
not my first or my second choice,
but it will do.  I'm pretty happy with the
orange ringer tee I found for my Little boy,
but the Big boys tees are just okay.


For the witch, I made a pattern.

I have the pattern scanned, but
I don't know how to add a link for you
to be able to download it.  If you would like
the pattern, just let me know and I
will email it to you.
Also, if there are any technically savvy
readers out there that wouldn't mind giving
me a quick tutorial - I would love
to learn how to add free patterns to my
crafty posts.
I should google uploading patterns.
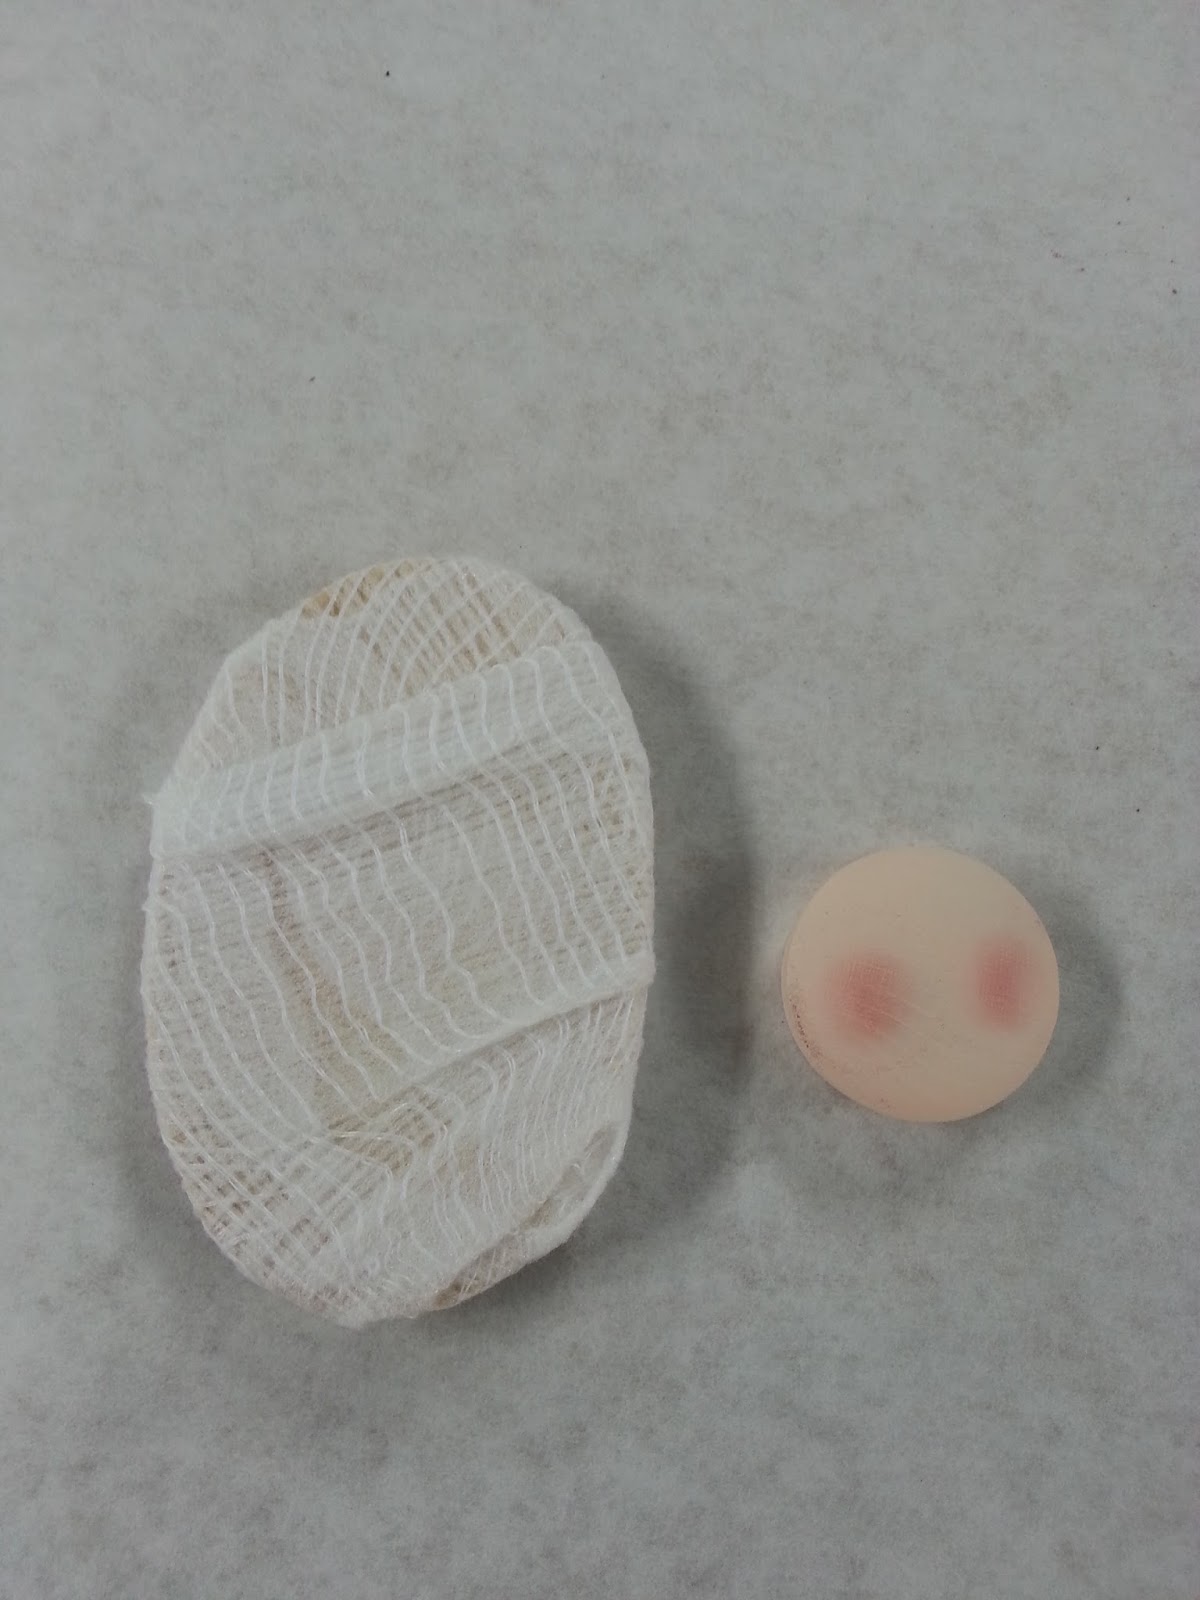
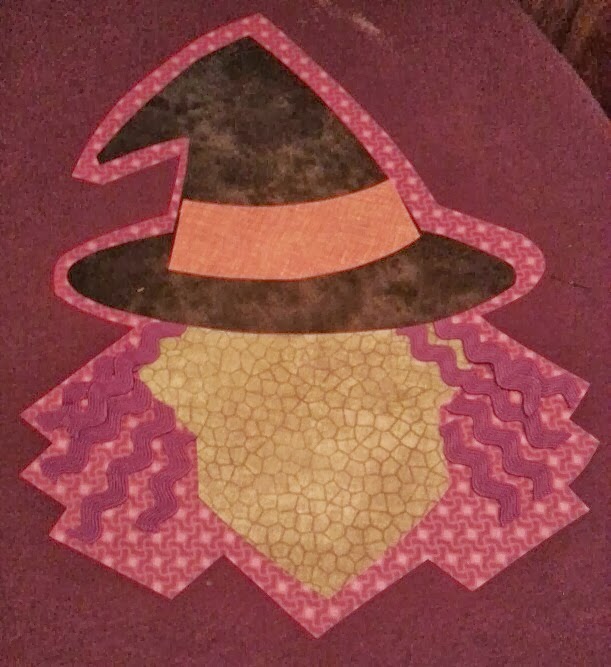
Anyway, I made a pocket-shaped
face, hat and hat brim, and I used four coordinating
fabrics.  Not what I had in mind when I
got this little gem of an idea five hours ago,
but here goes:
Follow the directions
on the Heat n Bond(R) Ultrahold(TM)
to cut a large background piece from the
purple print fabric.

Face is cut from green
fabric, hat from black fabric, hat brim from orange.


Instructions say to wash garment first without
fabric softener.  I did not do this.
That would not be conducive to immediate
gratification, which I so look forward to.

I used a hot iron to adhere the background
shape to the center of the tee shirt.


Guess what?  I decided to use rick-rack as
hair, and I didn't want to glue it.
So I ironed the rick-rack onto the Heat n Bond
and it worked BeAuTiFuLlY!!
Guess what else.  When I removed the 
paper backing from the adhered rick-rack,
I was able to pull on the attached Heat n Bond
and it just came right off!
I was prepared to use scissors and everything.
No need.  I love wonders.  May they
never cease.  Ever.


I attached the face, then arranged the
rick-rack hair and adhered each piece with the iron.


I added the hat, then the hat brim.
It still needed something so I cut out 
a wart and a star for the hat brim.
I have some Swarovski crystals that are
just calling out to me - they
think they would look amazing somewhere
on this cute little witch, and I agree.


PS I added the eyes and the mouth
with a black paint pen.
NEXT!


I rushed through the Little's shirts
because I really wanted to get this up on my blog,
but have a better plan for the Big's shirts.
I'm going to cut out all my skull pieces, use 
the hot iron to adhere them to the fabric
that I want to use as a background,
THEN I will cut around for the background shape!
I just had a little trouble with
the spacing ... and I'm a little OCD so I
can deal with it on the Little's tees but I will be
much more precise when making the Big's tees!


Make a pattern for the background piece
by tracing around the skull design and leaving
about a 1/4" space.


I used the green as the background.
As you can see, I had some difficulty getting
all my skull pieces to line up inside
the background piece.  I had to do some
trimming.  I wasn't thrilled, but it worked.

I started with the top of the skull first.
I sort of got that lined up and pressed it down,
then I added the rest of the face pieces
and each bone, trimming and pressing
one piece at a time.


Love!!  I'm going to go pack up my
crystals now and my E6000 - I'll have four hours
at dance class tonight to sit and glue on
stones to make this witch sparkle!!

Peace and Happy Halloween Tees!

;)

Monday, April 1, 2013

DCC Blog Hop - Handmade Flowers!


April's theme is
~ Handmade Flowers ~
and as an additional challenge,
handmade flowers using items found
in or around the house.


Four growing children means I have
a plethora of outgrown clothing
at any given time.  I thought this challenge
would be the perfect time to use
that pair of old jeans I'd set aside!


 Supplies Needed:
old jeans ~ scissors ~ needle and thread
paintbrush ~ permanent marker ~
~ assorted buttons ~
~ green tulle ~ flower stencil or cookie cutter ~
~ DecoArt SoSoft Fabric Paint ~
~ DecoArt Glamour Dust
Ultra Fine Glitter Paint in Ice Crystal ~
~ Swarovski Crystals ~ E6000 ~


 First, cut along the seams on one leg
of the jeans.


 Use a flower stencil or cookie cutter to
outline flower shapes onto
your piece of denim fabric.


Cut out the flower shapes.


Choose several colors of
DecoArt SoSoft fabric paint.


Apply two coats of fabric paint
to each flower cut out.


 Apply glitter topcoat and
allow pieces to dry thoroughly.


Next, gather the fabric in the center
of the flower cut out
and stitch a button on to secure the fold.


Attach three buttons to the center
of each flower cut out.


~ Repeat for other cut outs! ~
Attach flowers to jacket or vest
for a little added pizazz! 
Hide your stitches behind the buttons.


Cut a length of tulle into a square.


Fold in half diagonally into a triangle,
then continue to fold and gather into a leaf shape.


Tuck tulle "leaves" behind the flowers
and secure with needle and thread.


Additionally, I used a single stitch
here and there to tack down
the flowers so they wouldn't curl.


 Attach Swarovski crystals to the
center threads of each button
with E6000 adhesive.


I added Swarovski crystals to the
center of each of the metal buttons
on the denim vest, just
for kicks.  And because the game was on
and I needed some busy work to do.


I enjoyed this challenge ~
I love that I was able to create something
fun and simple with items
I already had around the house!
Cost?  Zero!! :)

~ Peace and Happy "Recycling" ~

Monday, December 31, 2012

Sofa Pillow Make-Over

I bought these throw pillows when we moved into
this house four years ago.
They've come unstitched, and I've mended them.
Repeatedly.


They were looking p r e t t y sad when I
decided to make them over.

My pillows are constantly being folded, fluffed, tossed,
stuffed, and wadded up by at least six
(and sometimes more) people every day.
They prop feet, they prop elbows, they prop shoulders,
they're used as weapons, they're squished under tushies,
they're carried from room to room.
I wanted new covers that would
be rugged.  I wanted them to hold up to the beatings
and not burst at the seams with the slightest pressure.


I decided to use a canvas dropcloth.
After all, these drop cloths are used for years and years,
they're painted on, stepped on, dragged around,
folded up, shuffled around ... they must be tough.
Right??


Materials List:
Canvas Drop Cloth
Scissors
Sewing Machine
or Needle and Thread
Marker
Fabric Paint
Masking Tape
Paint Roller or Brush

So I washed and dried the dropcloth
with my favorite laundry soap and softener.
So they'd start out nice and fresh.

Then I measured my old pillows and cut
squares about 2" wider and longer than the pillows.


I ripped the seam running down the center
of the drop cloth so I'd have smooth fabric.
(I could have purchased a smaller drop cloth,
and maybe there wouldn't have been a seam,
but I purchased this nice big one instead).
I used a permanent marker to outline a square onto
each fabric piece, so I could sew nice straight seams.
I may not have cut perfectly straight edges, is what I'm saying.


I wanted to paint a quick and easy design on
the fabric.  I thought stripes would be fun.  
I used fabric paint and
masking tape with two different widths.


I taped off a striped design down the center of each
fabric square, and used a roller to apply paint.


I couldn't decide if I wanted a monogram on the
pillows, or another design element,
or just the stripes.  I decided to stencil a flourish
onto two of the pillow fronts.


Eh.  This didn't excite me.
But I forged on ... I can always make new ones.
With the right sides together, I pinned a painted
fabric square to an unpainted fabric square.


I sewed a straight stitch around the edges
of the fabric, leaving the center of one side
open for stuffing.


You know that saying, measure twice, cut once?
I probably didn't follow that ...
... which is why I outlined the square with
a permanent marker.  Then I just followed along
the black lines with my sewing machine.


I'm a fly-by-the-seat-of-my-pants
kind of girl.  Especially when it comes to sewing.
I sort of have a brand new experience
every time I drag out my sewing machine.
I have to re-learn how to use it.
It's that short term memory thing I've got.
That's my story, anyway.


Hey!  It worked!  I probably had to rip out a 
few seams and restitch them.  I'm not admitting anything.
I turned the pillow cover inside out.


I'm sure there were several ways I could have
gone about stuffing my new pillows.
Here's what I did: I folded each pillow into
thirds and crammed it into my pillow cover.
then I stuck my whole arm inside to make sure
that the pillows went all the way down in the corners.
Then I folded the open seam inward,
pinned it, and sewed it closed.

 Badda. Bing.
I may have had to rip the seams out
and restitch them a couple of times.  I'm sure that
wouldn't have happened if I'd just used a 
needle and thread to close the seams.
But stitching, ripping, and re-stitching seemed
faster, somehow.  Heh heh.


There!
Times four.

My eight-year-old said I should make new pillow
covers and use really soft, fuzzy fabric.
Ha!  Like soft, fuzzy fabric will hold up to what
they put these pillows through!
Not happenin.
I told him he can use these pillows when he's
on the sofa, and he can use his soft, comfy pillow
when he's in his bed.

Here's the BEFORE pic again,
so you don't have to scroll to the top to see
how much better they look now.

BEFORE


AFTER

* Peace and Pillow Fights *

Saturday, September 15, 2012

Baby Jesus Ornament

This little craft is perfect for the
classroom - even the very young could
make these if you did a little
prep work ahead of time.
 You'll need the following supplies:
A 3/4" round head button plug,
a Woodsies giant oval,
a Woodsies small oval,
a scrap of gauze
(I had mine left over from Halloween)
acrylic paint: Flesh Tone, Marigold,
Extreme Glitter Gold, Multi-Purpose Sealer,
pink powder blush, a cotton swab,
a hot glue gun, glue sticks,
a permanent marking pen, a button, 
and a ribbon scrap.

Baby Jesus ornaments make me happy!
Here are two of my earlier designs:
  Hmm.  This one must be so old
I haven't even blogged about it.
I will put this on my To-Do List.  :)
Back to this year's ornament:
  Paint the button head Flesh Tone and allow
to dry thoroughly.  Blush the cheeks
with pink powder blush and a cotton swab.
Seal with Multi-Purpose Sealer.
Paint the small oval Marigold.
When dry, brush with Extreme Glitter Gold.
 
 
 Wrap the gauze scrap around the oval.
I found that really stretching the
gauze tightly and tucking in all loose ends
works the best.  Use hot glue
to secure the end of your gauze on the
back of the oval.
 
 Once your painted pieces are dry,
you're ready to assemble the ornament.
 
Put a small amount of hot glue on
the front bottom of the halo;
press the back of the gauze wrapped
oval to the front of the halo.
Flip ornament over.
Use a dot of hot glue to attach the
ribbon for hanging to the back of the halo.
For added support, I used a button
to sandwich the ribbon between
the oval and the button.
 
 
 This is what the front of your ornament
should look like.
Add closed eyelids by drawing two
"U" shapes with the pen.


I thought the ornament still needed
a little something, so I dug
through all my supplies until I found
this holly sprig.  I think I liked it because
it looked so much like my earlier
ornament where I painted the 
swaddling clothes and I painted the
holly sprig.  Any little decoration would
do ... a star, a heart, be creative.


~ Peace and Baby Jesus Ornaments ~